
DIY Dice Bags Tutorial & Video: Fully lined, reversible, & customizable!


My family has gotten really into playing role playing games. The kids get super into being a character with magical powers. I am always a giant warrior or strapping hero (maybe this has something to do with the fact that I’m only 5’1” in real life?). We got our own unique sets of die at I’m Board! by picking out our favorite combinations of colors, but didn’t really have a way of storing them securely. I made some Komebukuro bags for the kids a while back and figured tiny versions would be really easy and perfect for our die.
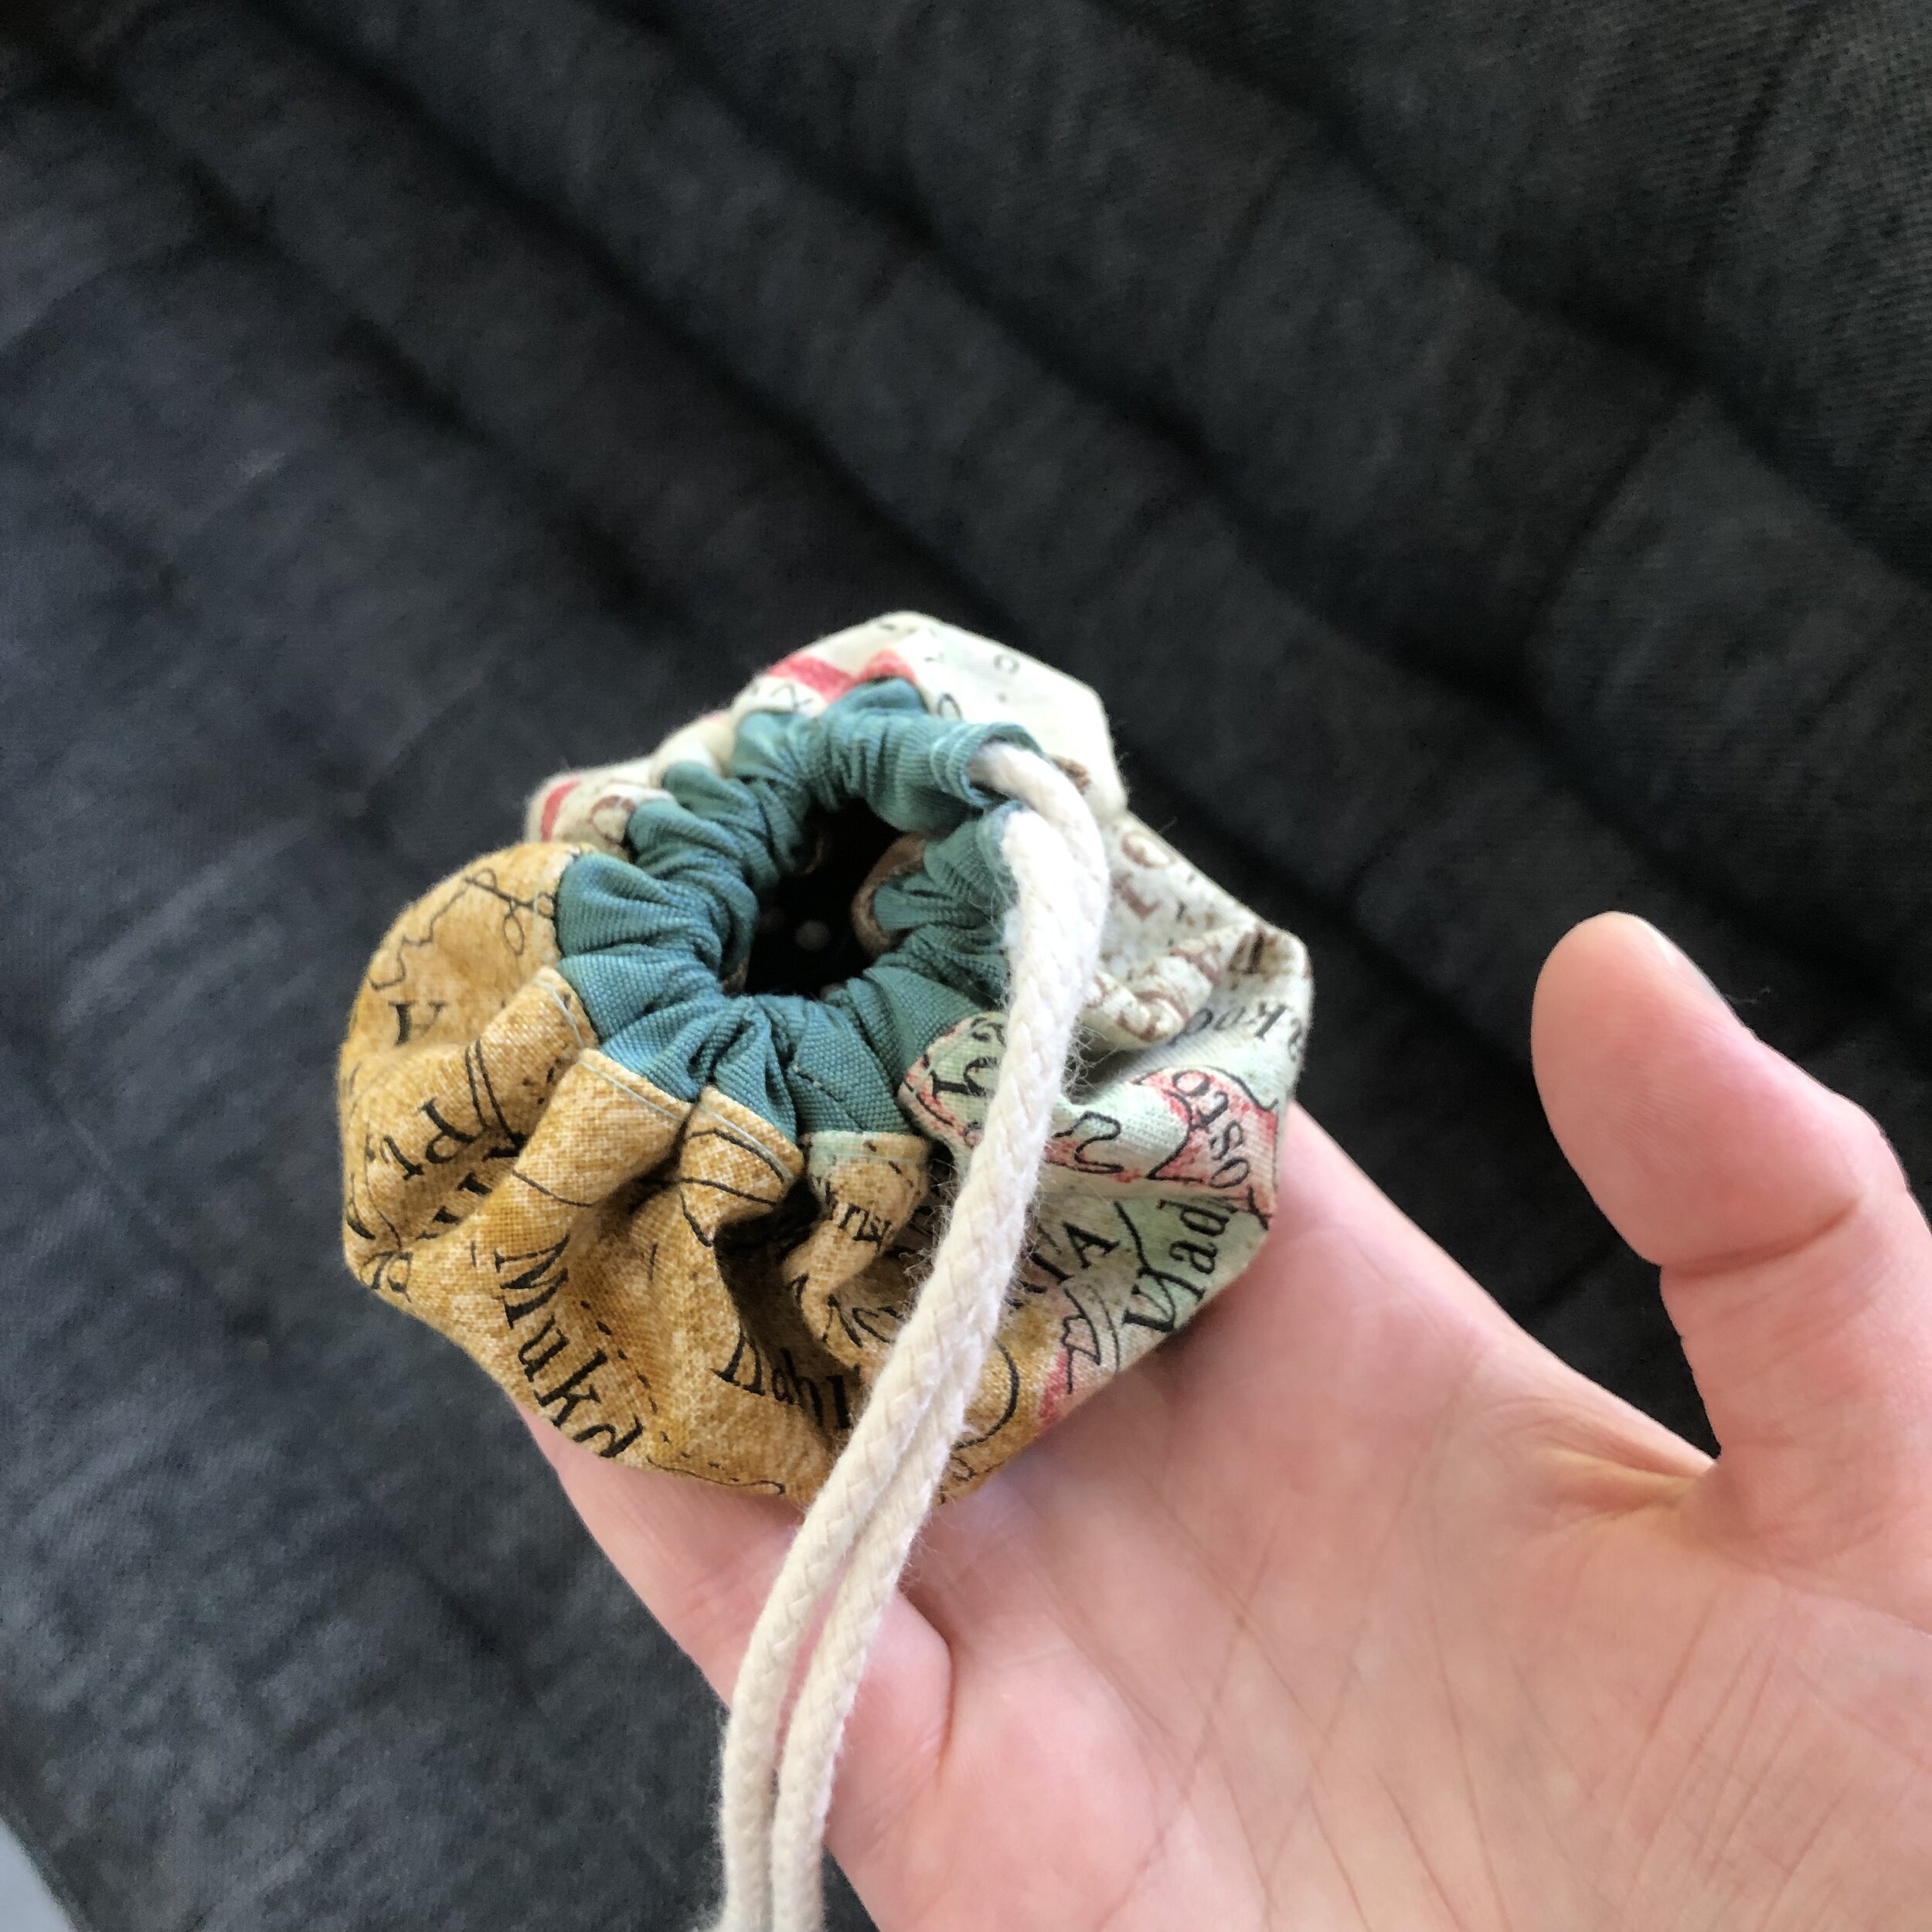
I made this handy video to show the steps I took. I’ve also added the steps below the video. Tag me @weftyneedle on social if you make these precious little guys! I’d love to see what you come up with.

DIY Dice Bags Supplies
Fabric
(2) Scraps large enough to accommodate your plate will work for the exterior and lining
(1) 10 x 10 inch piece of fabric for the bias binding
Interfacing
(1) Plate sized scrap of SF101 by Pellon, or other lightweight woven fusible
Small Plate
Dessert plate or saucer
Rope or Ribbon
Use something 3/4 inch or less, that is smooth - paracord would work really well for this
DIY Dice Bags How To Steps
Cut Fabric
I tried to arrange my plate over certain parts of the prints, then traced the plate with a Frixon Pen before cutting them out. Cut a plate sized circle out of an exterior fabric, lining fabric, and interfacing.
Fuse Interfacing to Exterior Panel
Make Bias Binding
Fold your square diagonally, trimming off the fold. Cut 1.75 inch strips. Arrange them so diagonals overlap right sides together, pin, and sew. The video shows this step!
Sew Bias to Exterior Panel
Make sure to finish one end of the bias binding first by folding, pressing, and topstitching. Pin and then finish the other end as with the first end before pinning it down. Sew slowly using a seam ripper or stiletto to help feed the fabric under the sewing machine foot.
Sew on Lining Piece
Make sure you arrange them right sides together with the bias in the middle - and pin pin pin!
Notch and Turn Right Side Out
When you notch, use some pinking shears if you’ve got them! I use these by Fiskars and would highly recommend getting some. Always make sure you avoid cutting into your sewing.
Roll Seams, Press, & Top Stitch
Take your time with this step to make sure you are getting it looking nice and neat.
Thread the Rope or Ribbon
I used a safety pin. Trim the rope to just long enough so you can fully open your dice bag. I left my strings too long on my first one and it is bothersome (good thing that one is mine!).
Finish Ends with Knot or Tab
I used some leftover bias to create a tab for the ends of my rope, but knotting the ends would work also.
Thanks for reading! I hope whatever you’re working on right now is rewarding and meaningful for you.
-Tara