
Advent Calendar Quilt with Benzie Design Felt
I’ve been wanting to make an Advent Calendar since Hazel was old enough to ask “How many days until Christmas?” which means this has been on my to-do list for five years. The hard deadline I gave myself for finishing it and blogging about it was Thanksgiving, so I’m happy to report that I am three days ahead and five years behind schedule, thank you all very much!
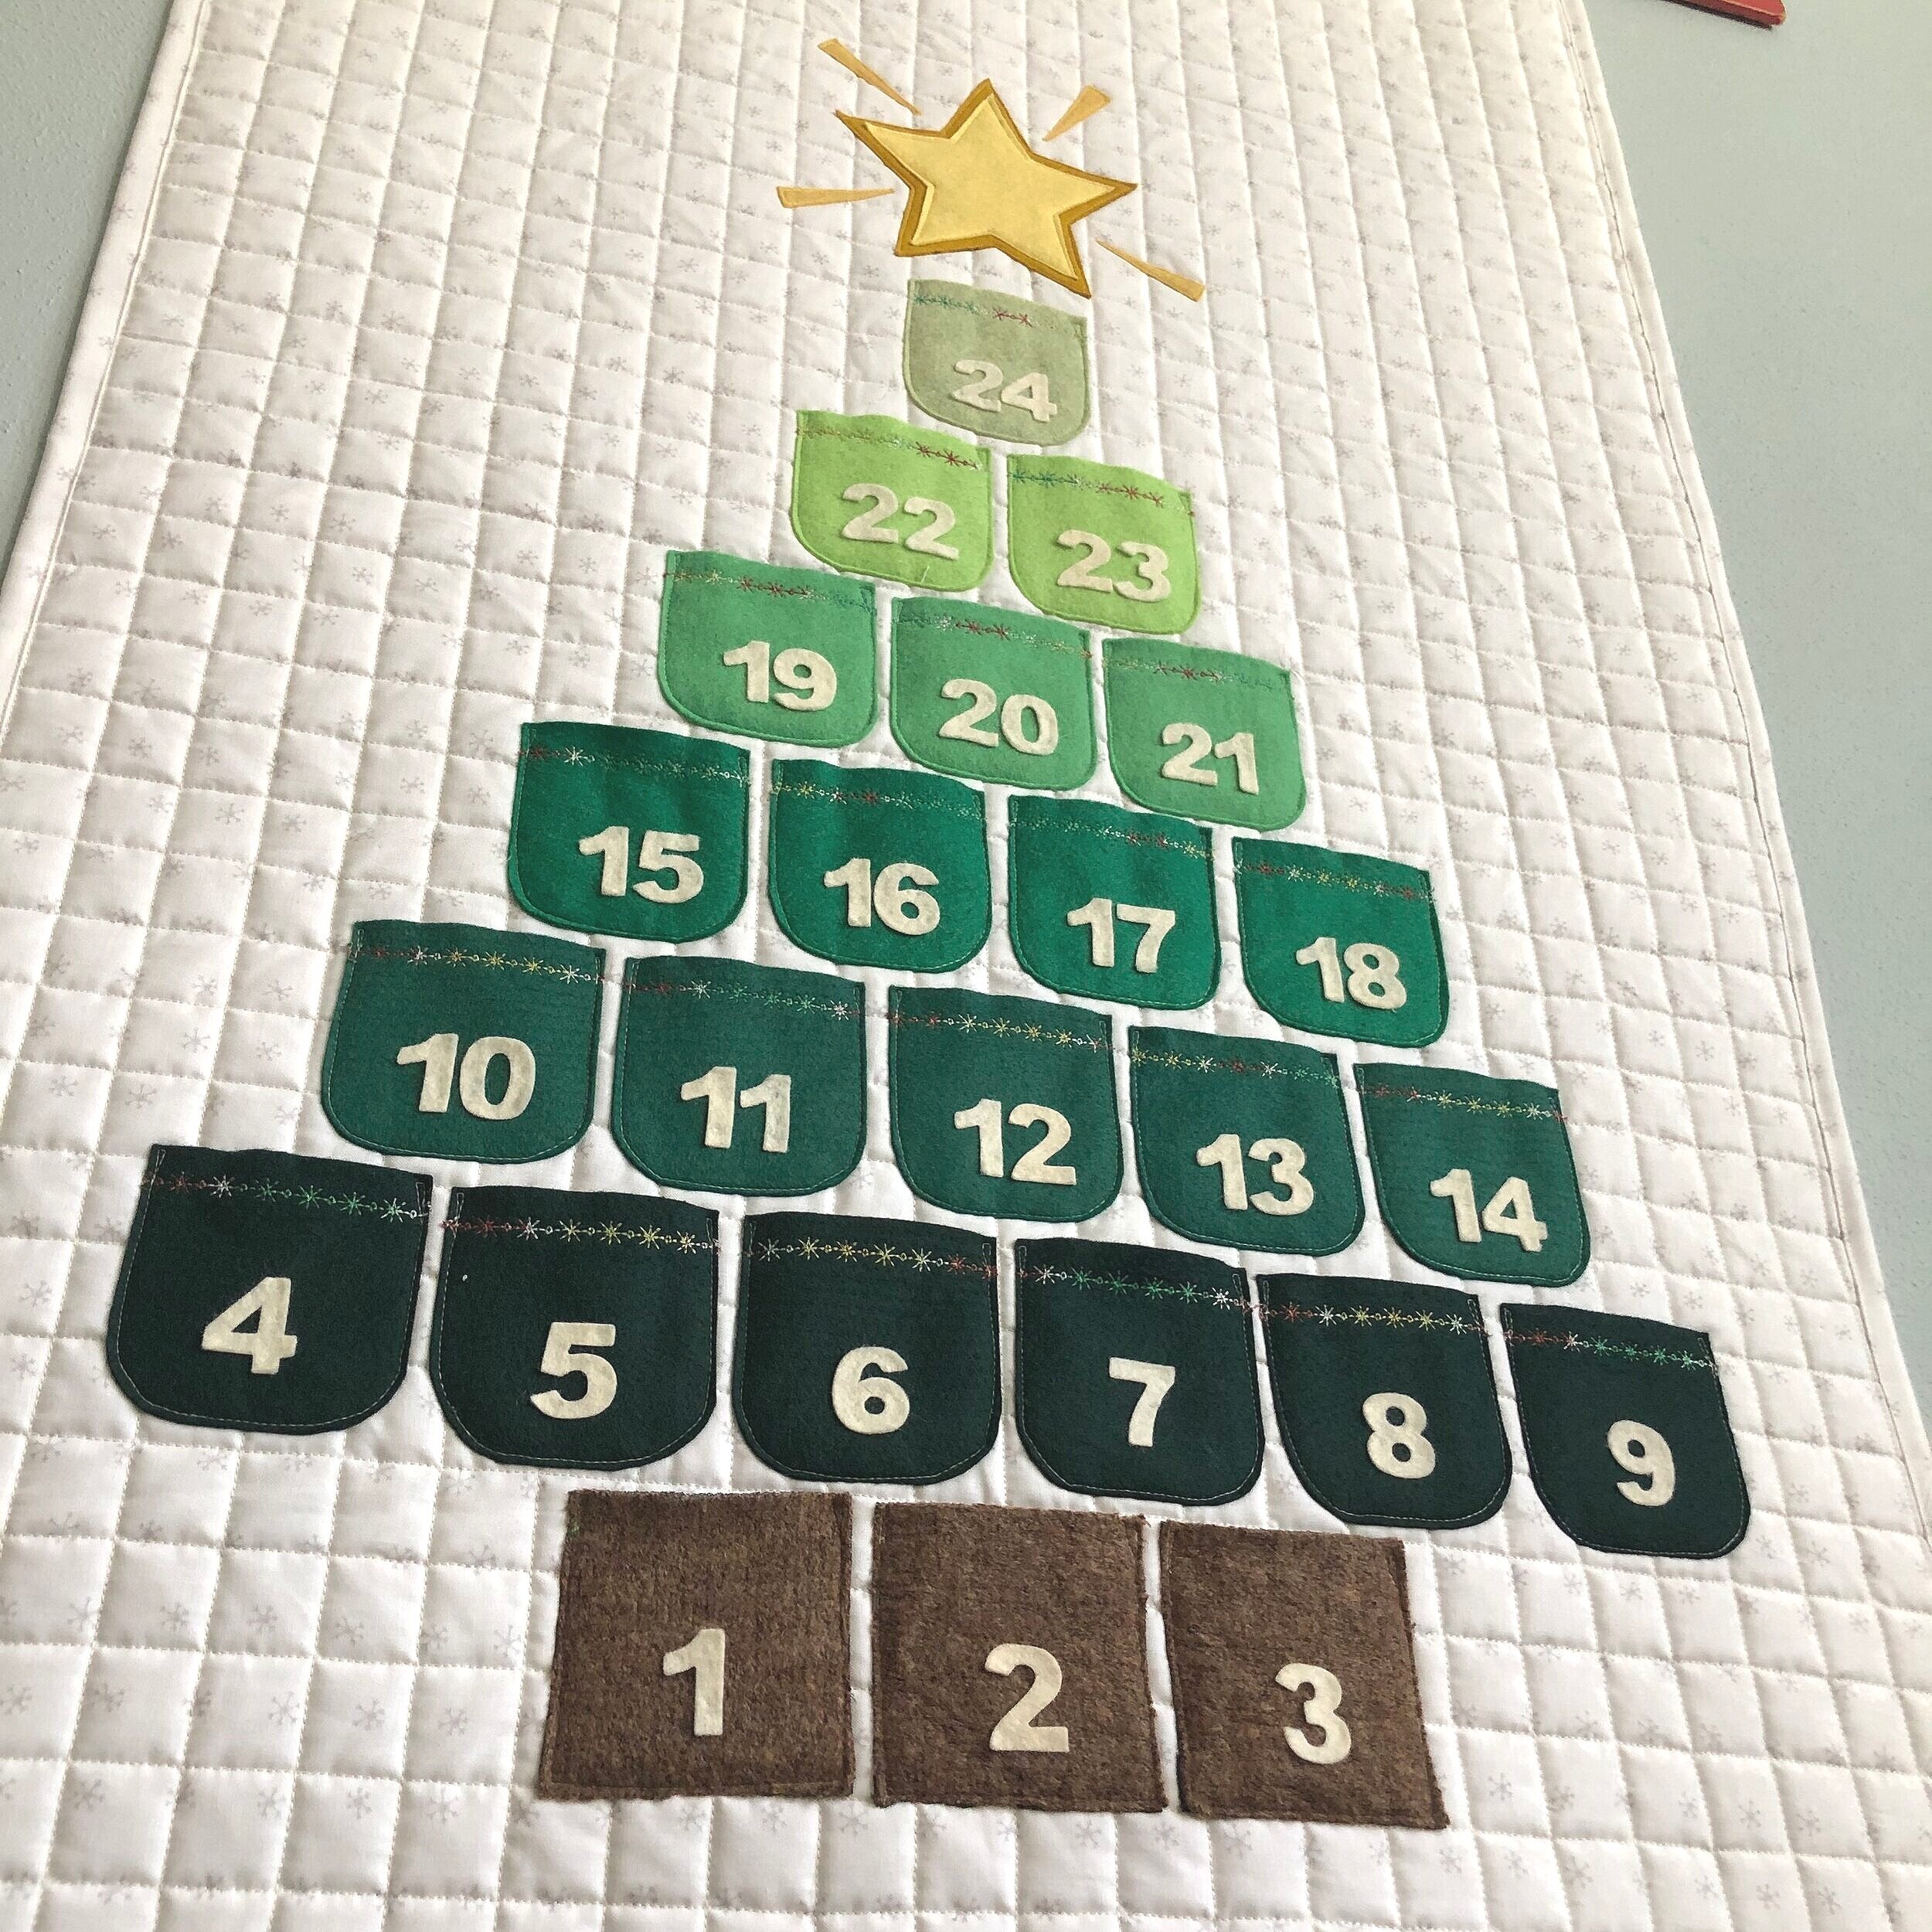
I drew a mock up of how I wanted the calendar to look. The inspiration for this came from a creativity workshop at the Madison Modern Quilt Guild, where members of a small group were asked to doodle in circles for 3 minutes. One participant simply colored in circles to create what looked like a Christmas tree. Eureka.
Here’s a very quick overview with some details of how I made this. This Advent Calendar is a 25 x 41 inch quilt with felt accents sewn on. It’s that simple. The more I explain it the more complicated it’s going to seem, so I’ll try to keep this brief, but if you start to feel overwhelm, just read the numbered titles!


1) I Made A Whole Cloth Quilt
The quilt itself is a cut of one and 3/8 yards of fabric (I used Merriment by Gingiber for Moda in Christmas Snow Flakes White) simply unfolded after getting home, then refolding it with the cut edges together (as opposed to selvedge to selvedge which is how we buy it). I then cut along the fold and trimmed the selvedges, leaving me with two pieces of fabric that measured about 26 x 42 inches.
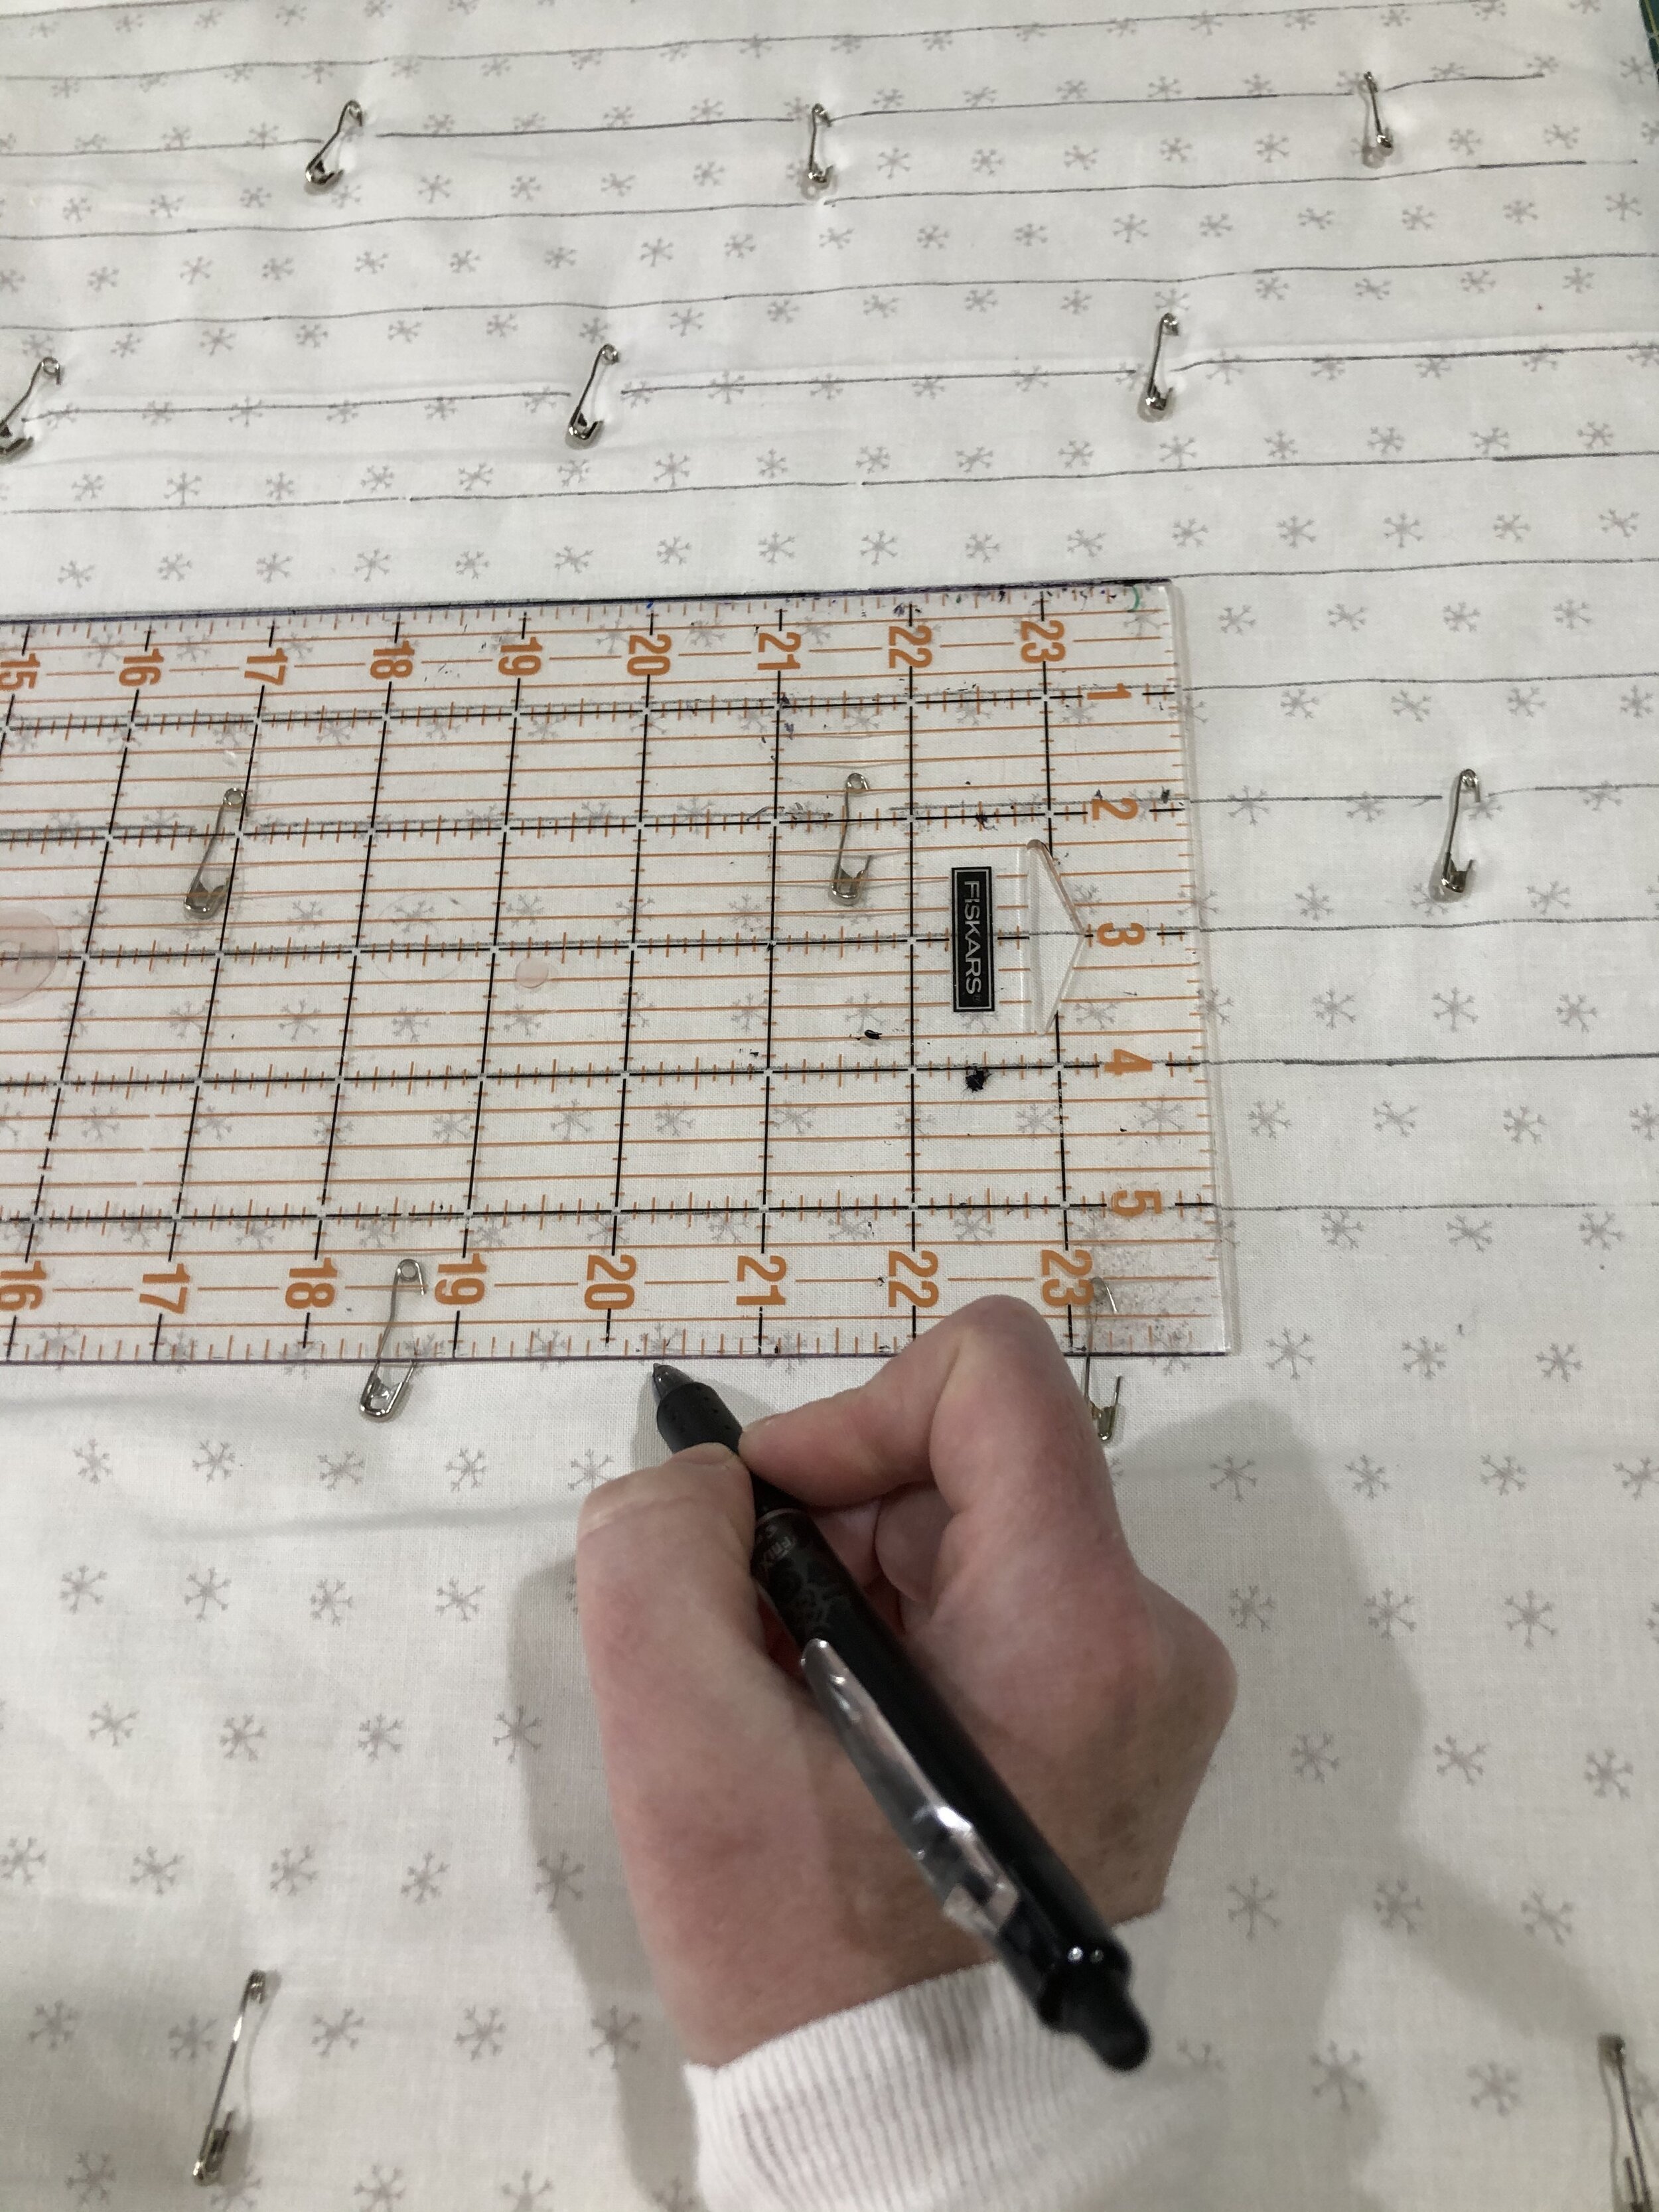
To quilt, I marked a vertical one inch grid using a clear quilting ruler and a Frixion pen. According to a lot of heartbreaking stories on my Instagram post showing this step, Frixion pens are not advisable. I will probably continue using them until they ruin my life and then I’ll find something else. Until then!
After quilting the vertical grid, I used those lines to mark my horizontal lines and quilted those.
I squared up the quilt so it was perfect in every way, then worked on my felt pockets!
2) I Added 3 Inch Squares Of Felt For Pockets
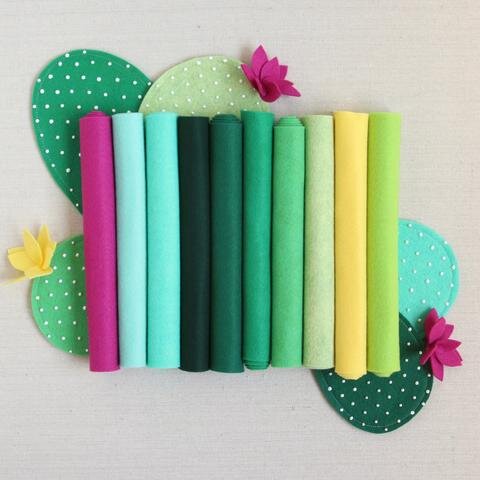
The Cactus Color Palette from Benzie Designs
I used felt I purchased as part of the Cactus color palette from Benzie Designs. Please check them out. SO MUCH DELICIOUS INSPIRATION!
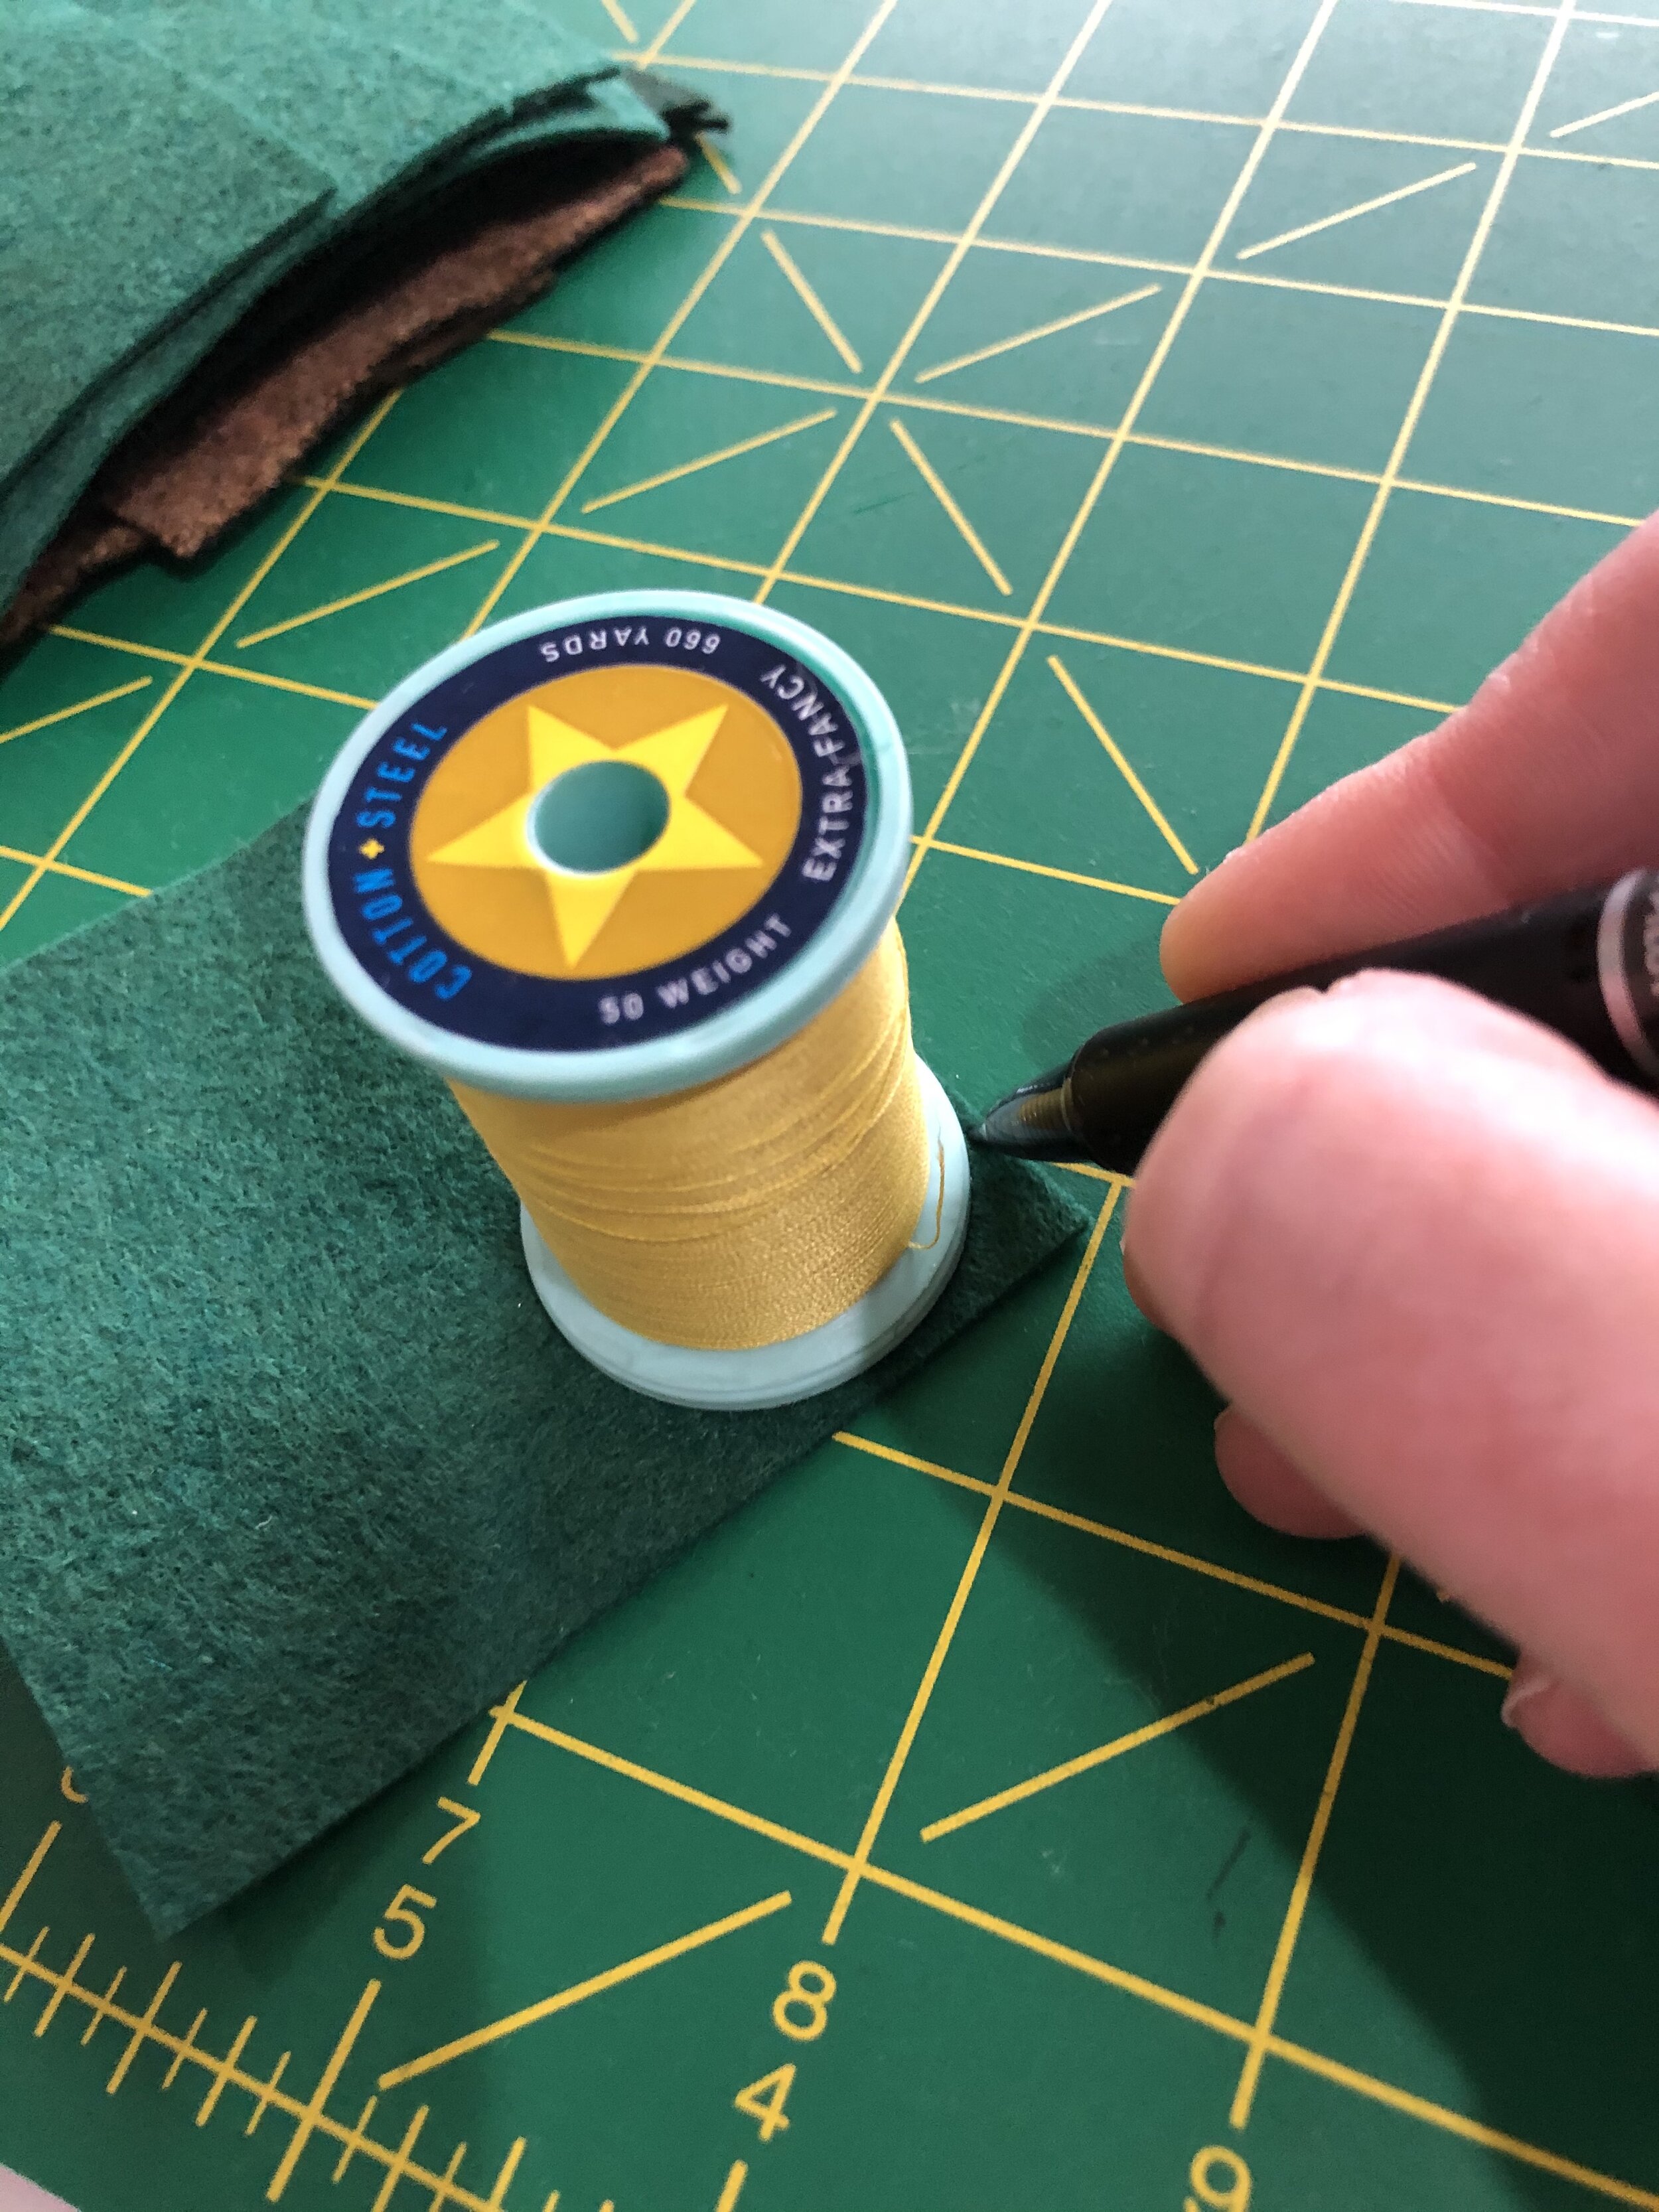
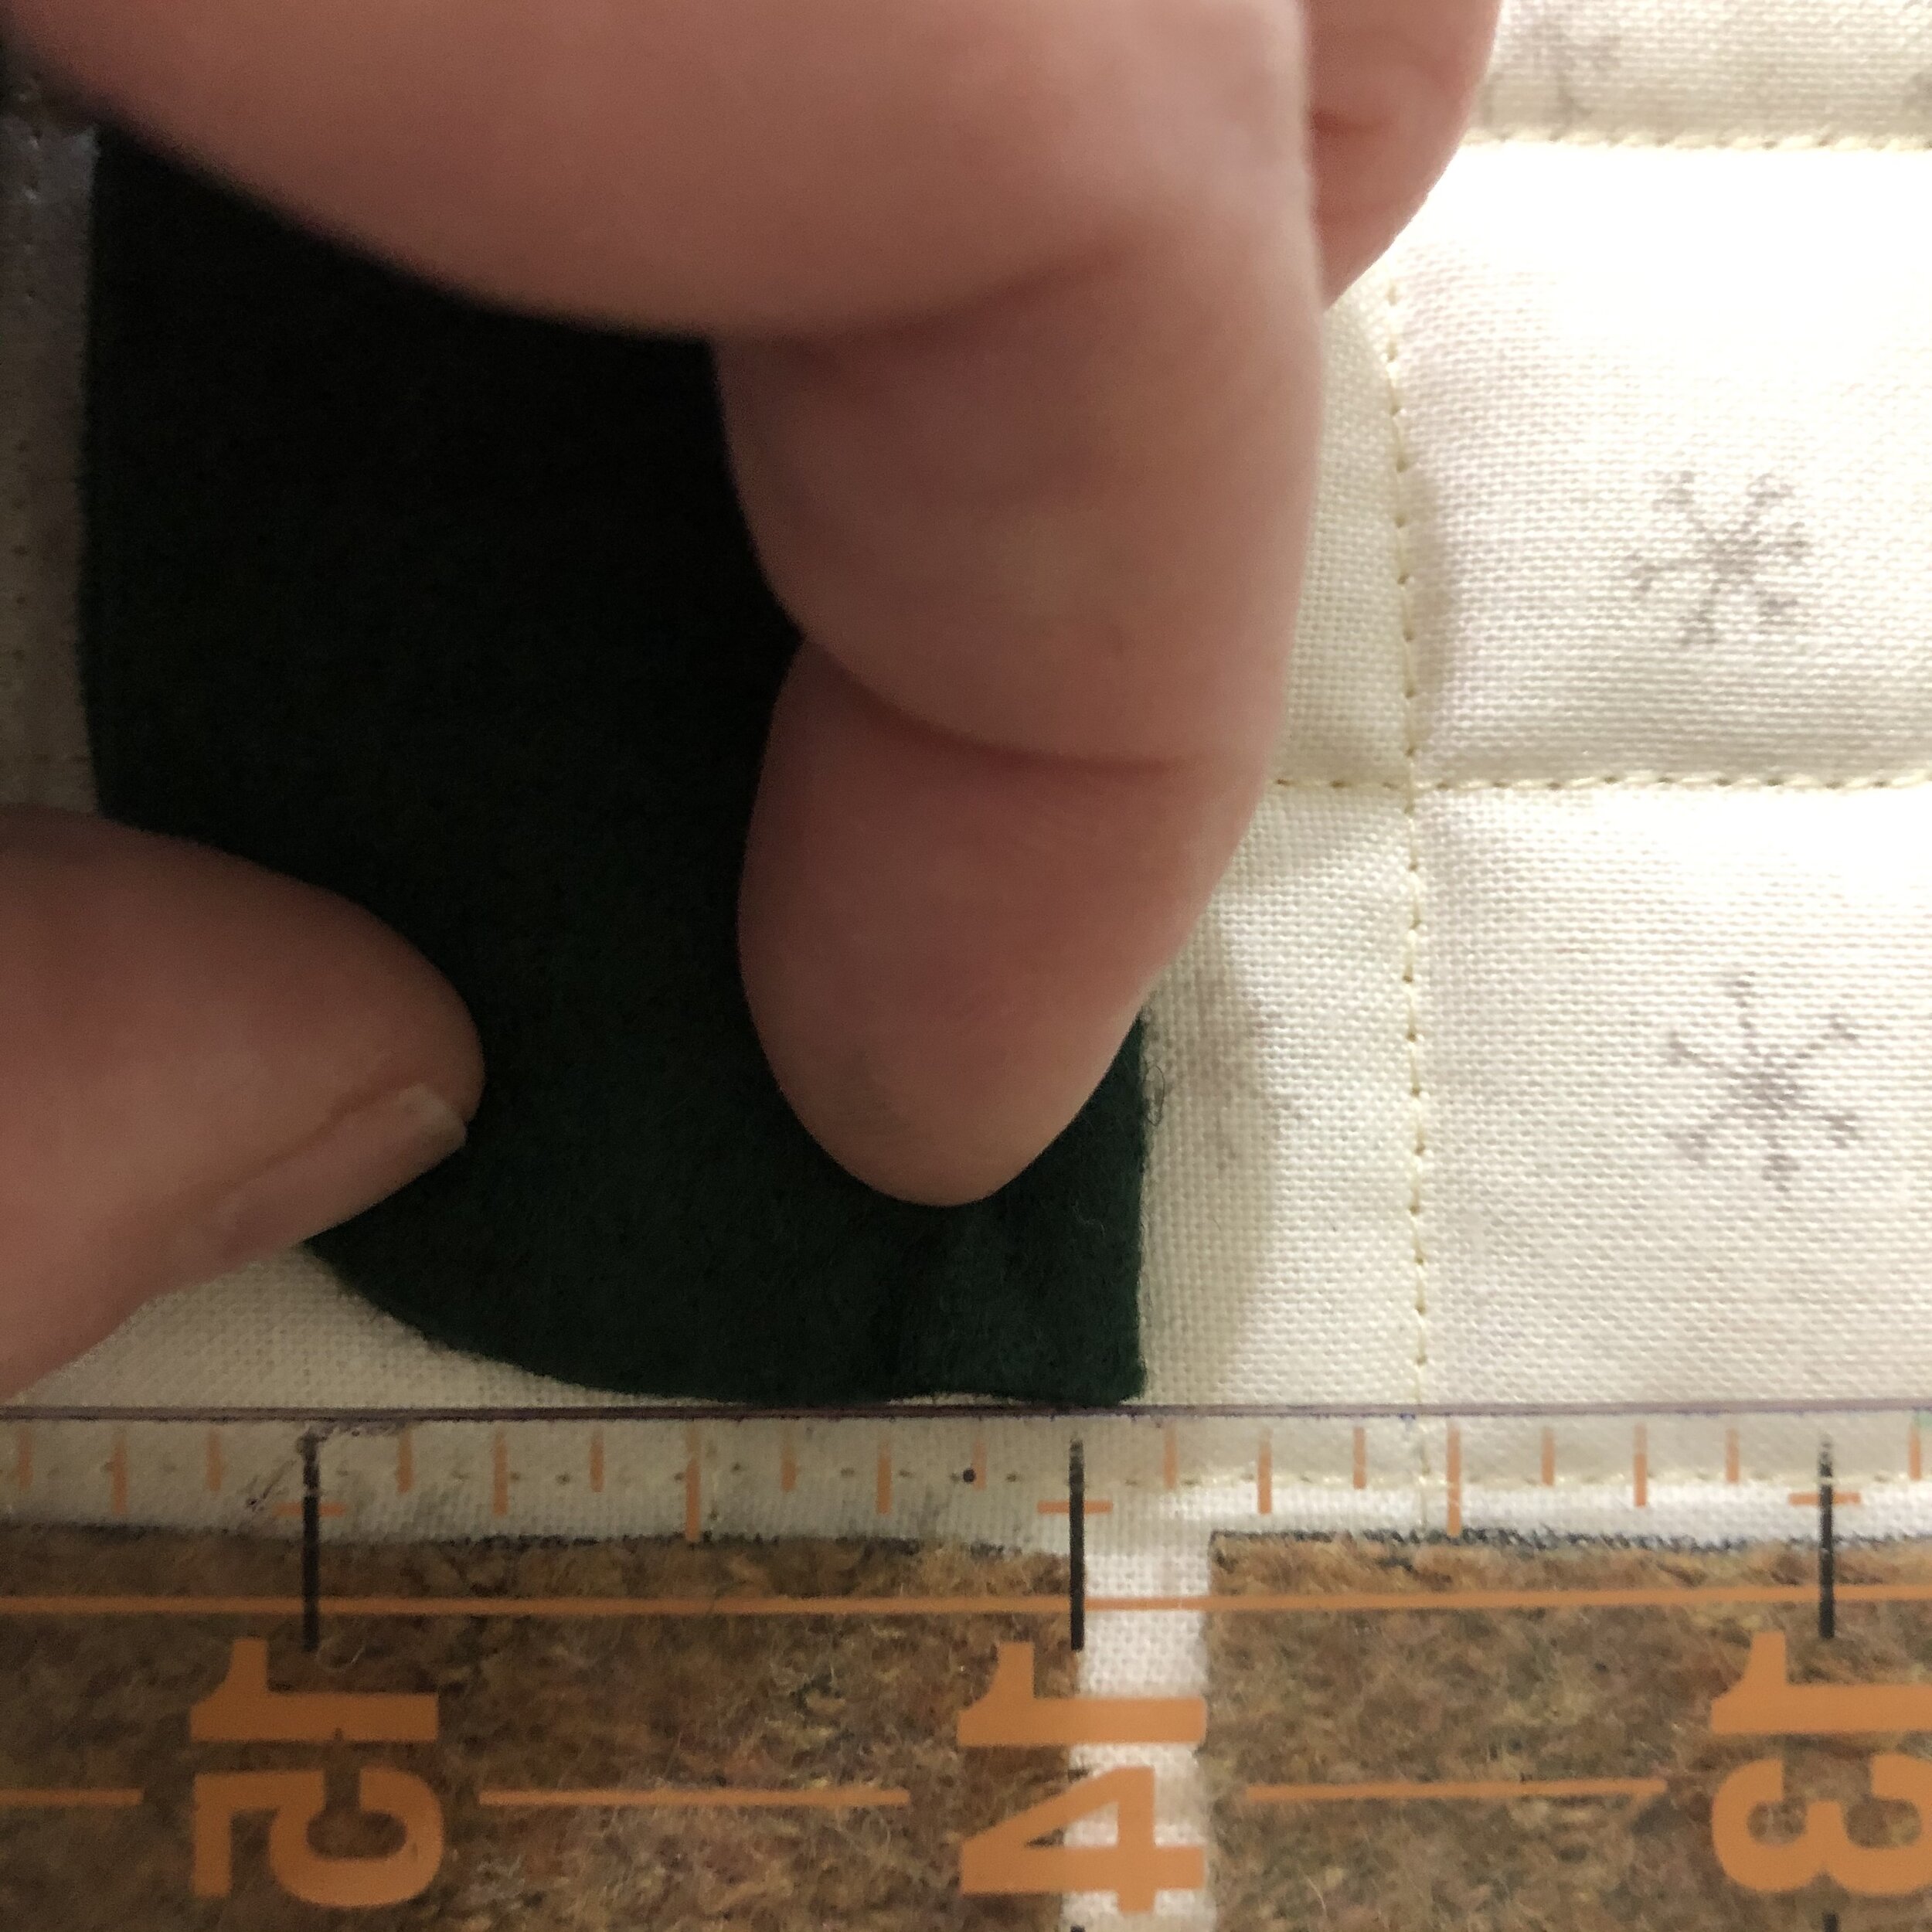
For this design, I needed (3) 3x3 inch squares of brown felt for the tree trunk, and (21) 3 x 3 inch squares in six shades of green for the tree. I rounded the bottom corners of each green square by marking them using a Aurifil Thread spool and the dreaded Frixion pen of evil, then cutting with scissors.
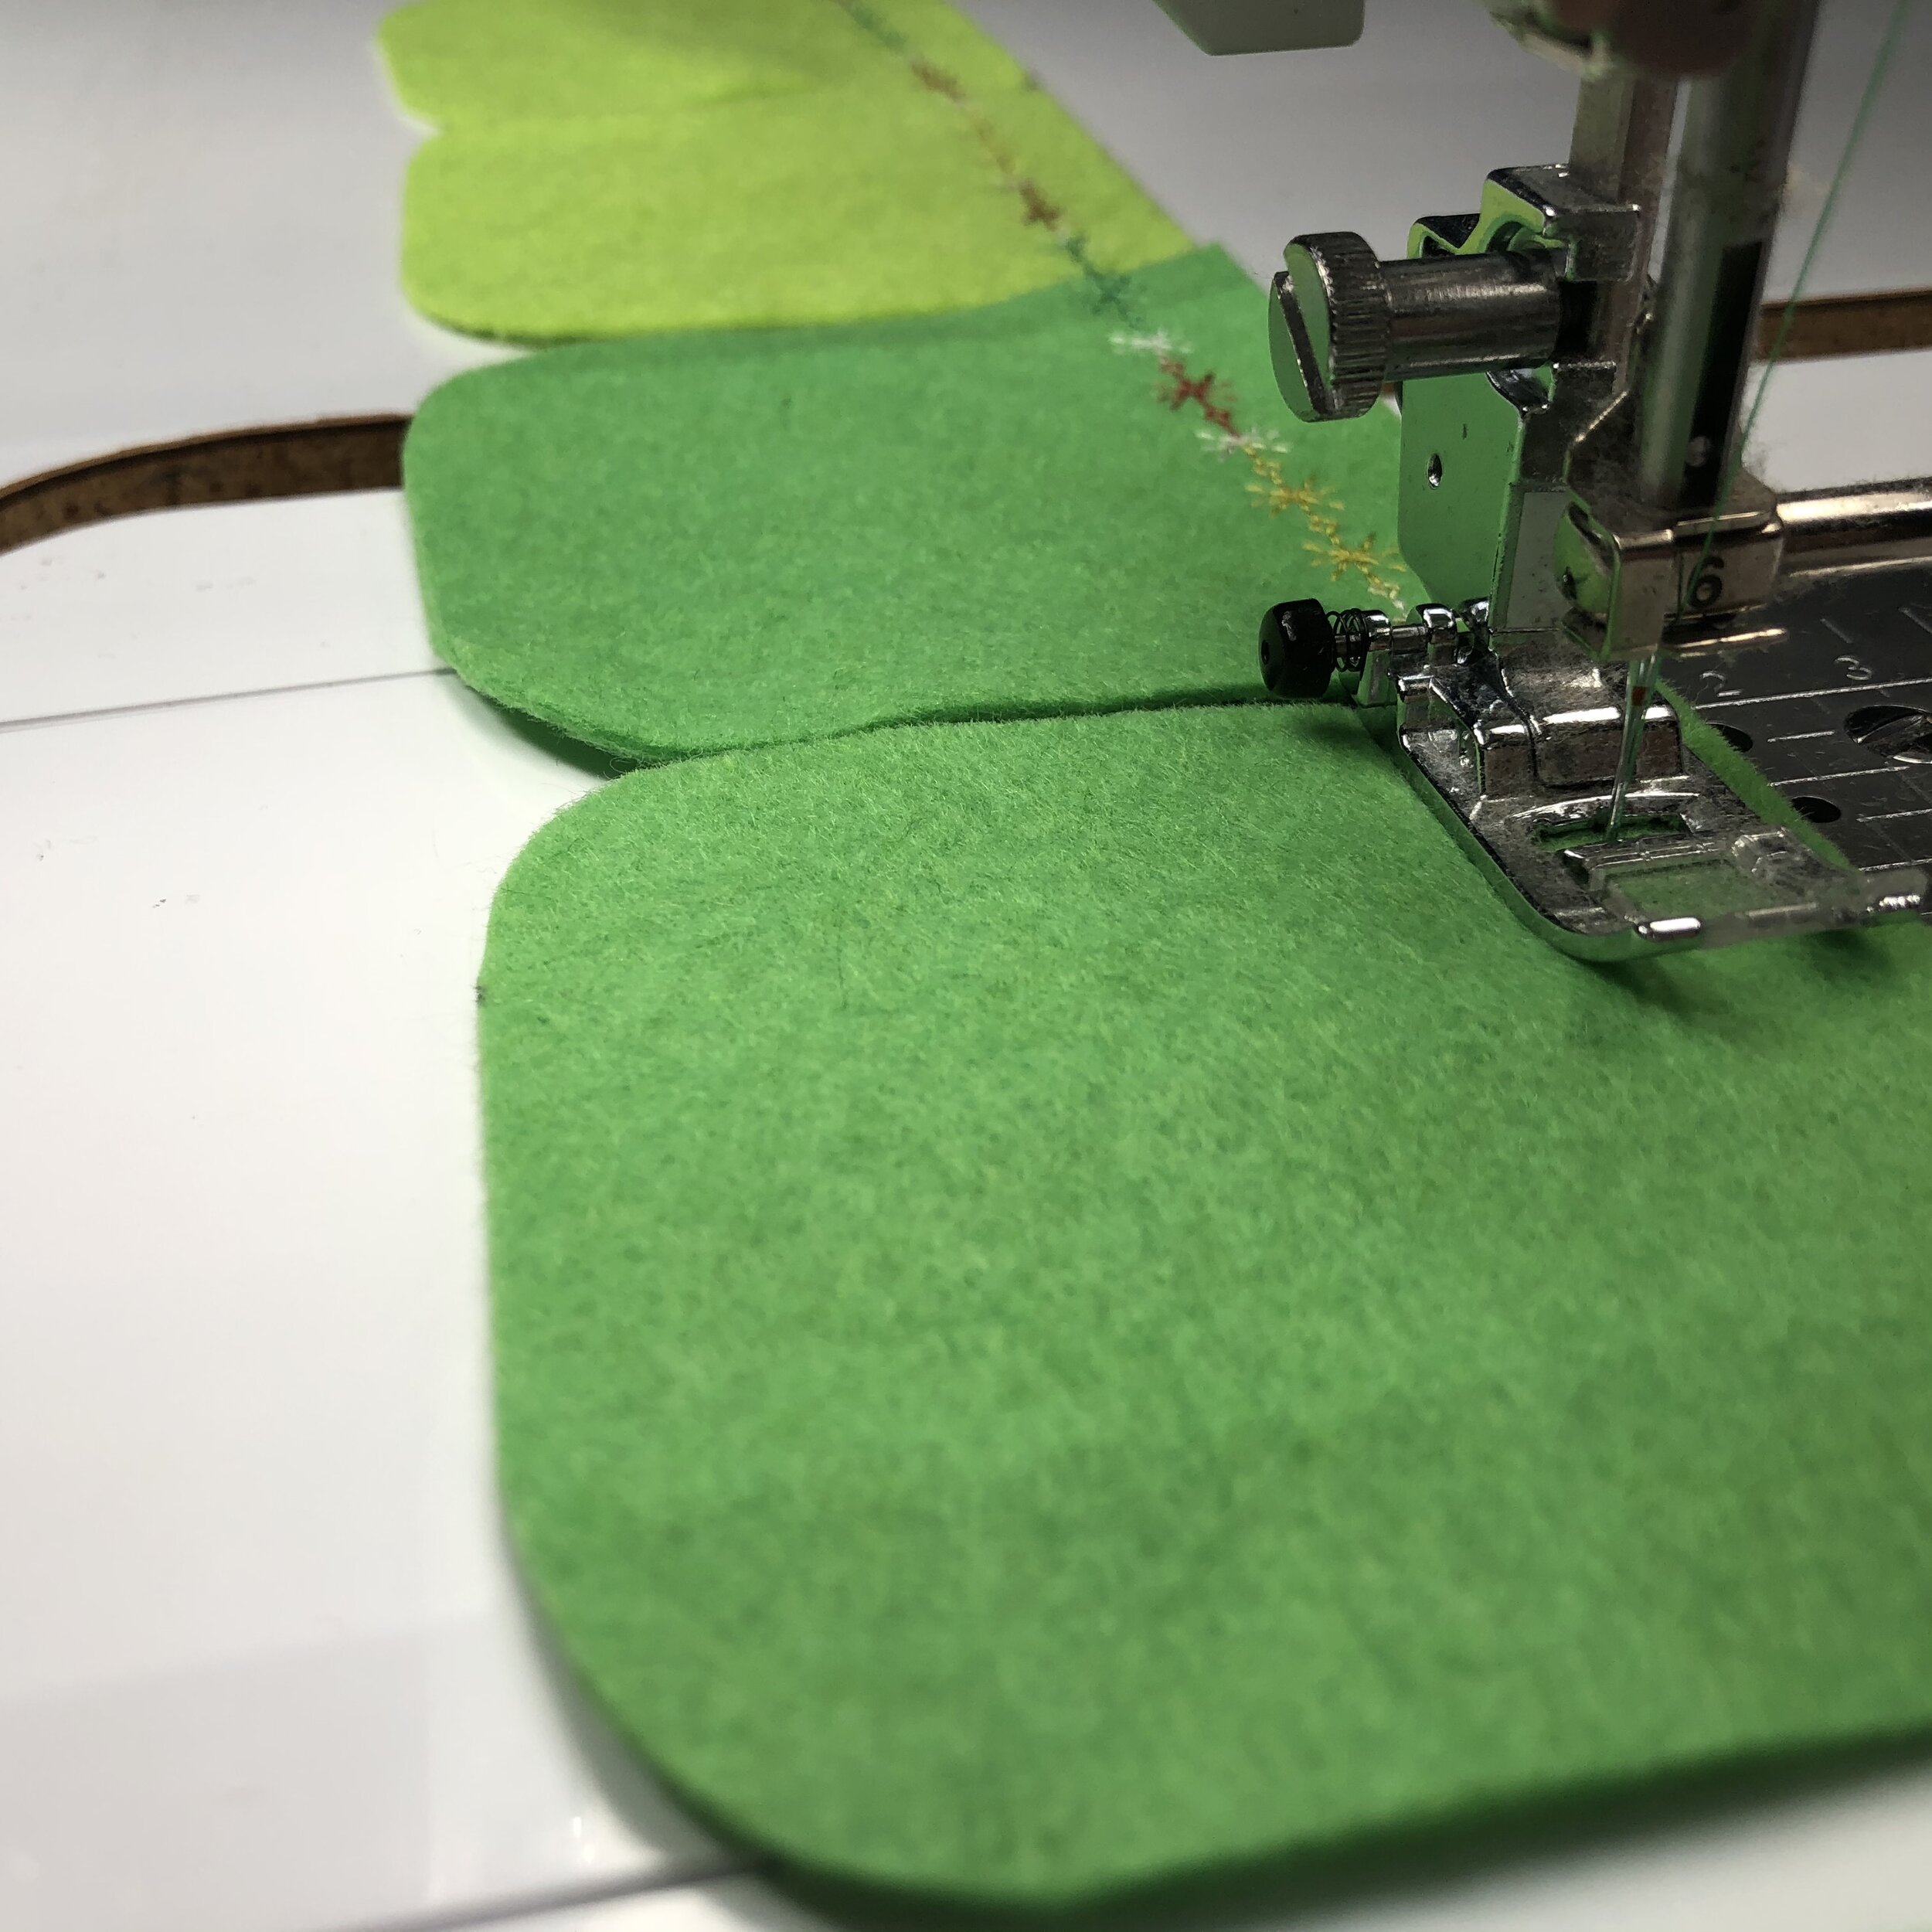
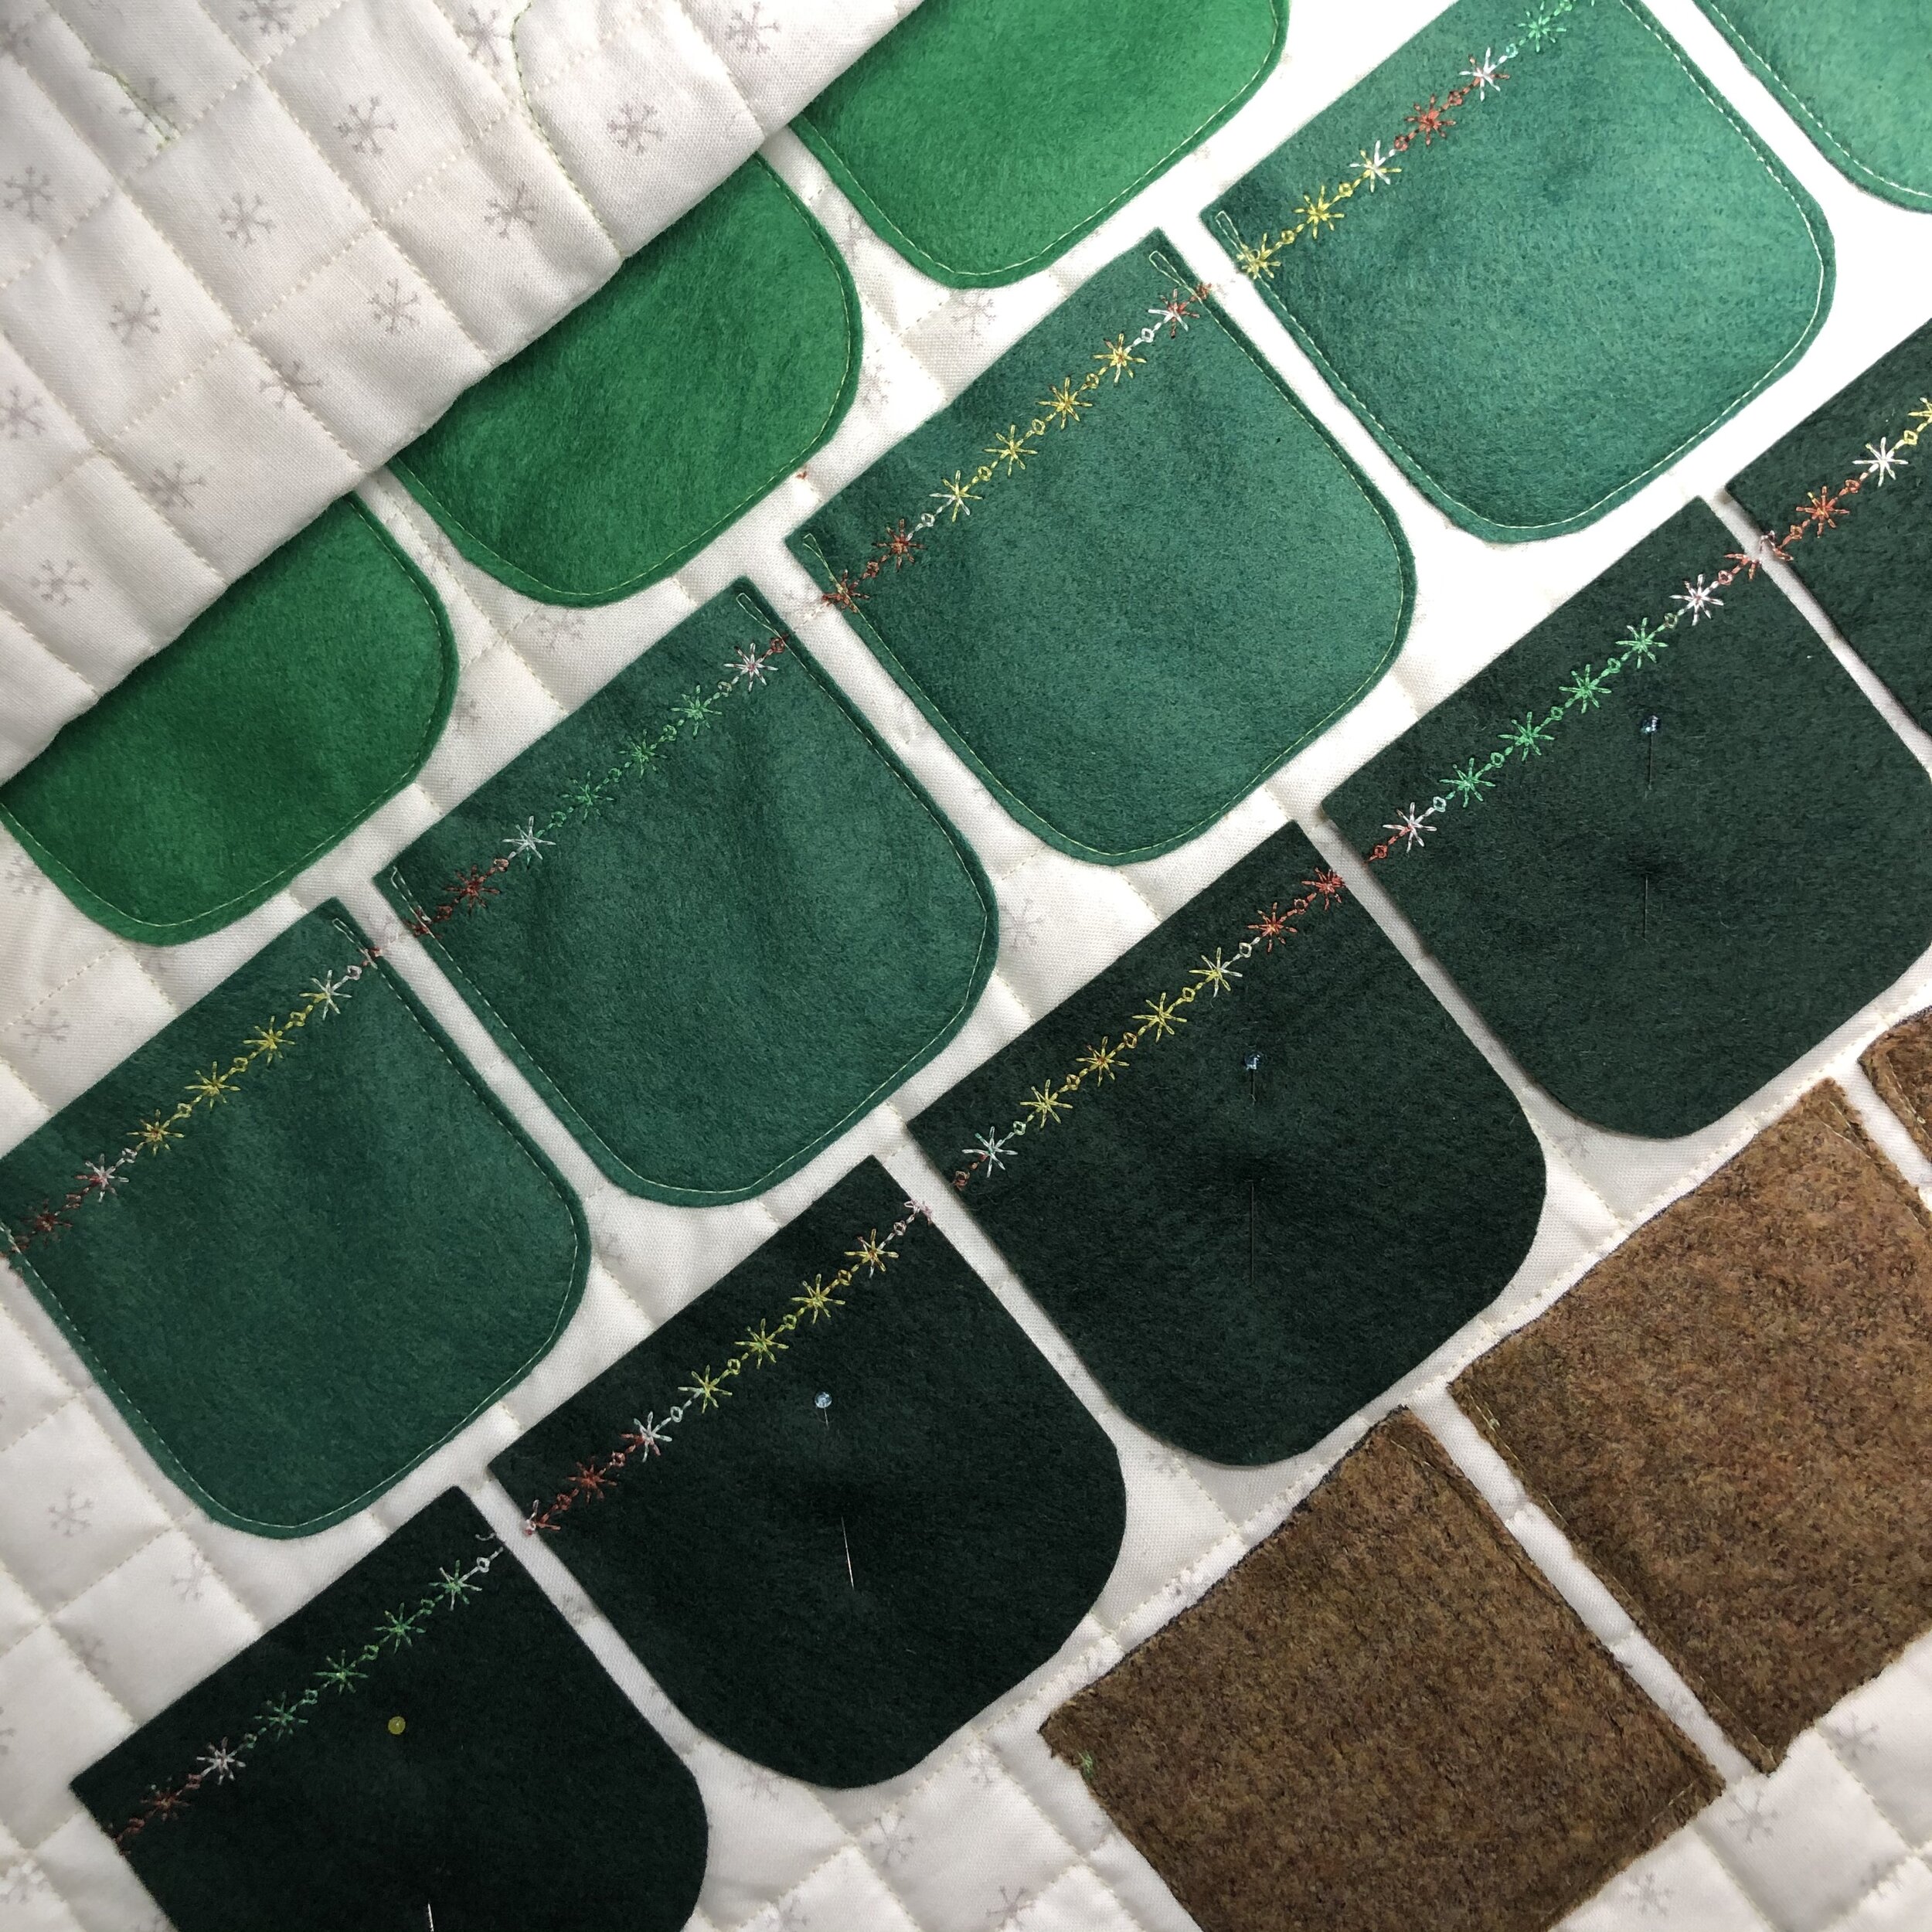
I wanted to dress up the pockets so picked a fun decorative stitch on my Brother Innovis and a gorgeous variegated Aurifil thread to add a line along the top. This was so easy and quick because I just chain sewed them!
I laid out my pockets how I wanted them, then found the center of my quilt and center of a brown pocket to lay down the middle trunk pocket. At this point I used a ruler and the middle points to lay out each pocket evenly.
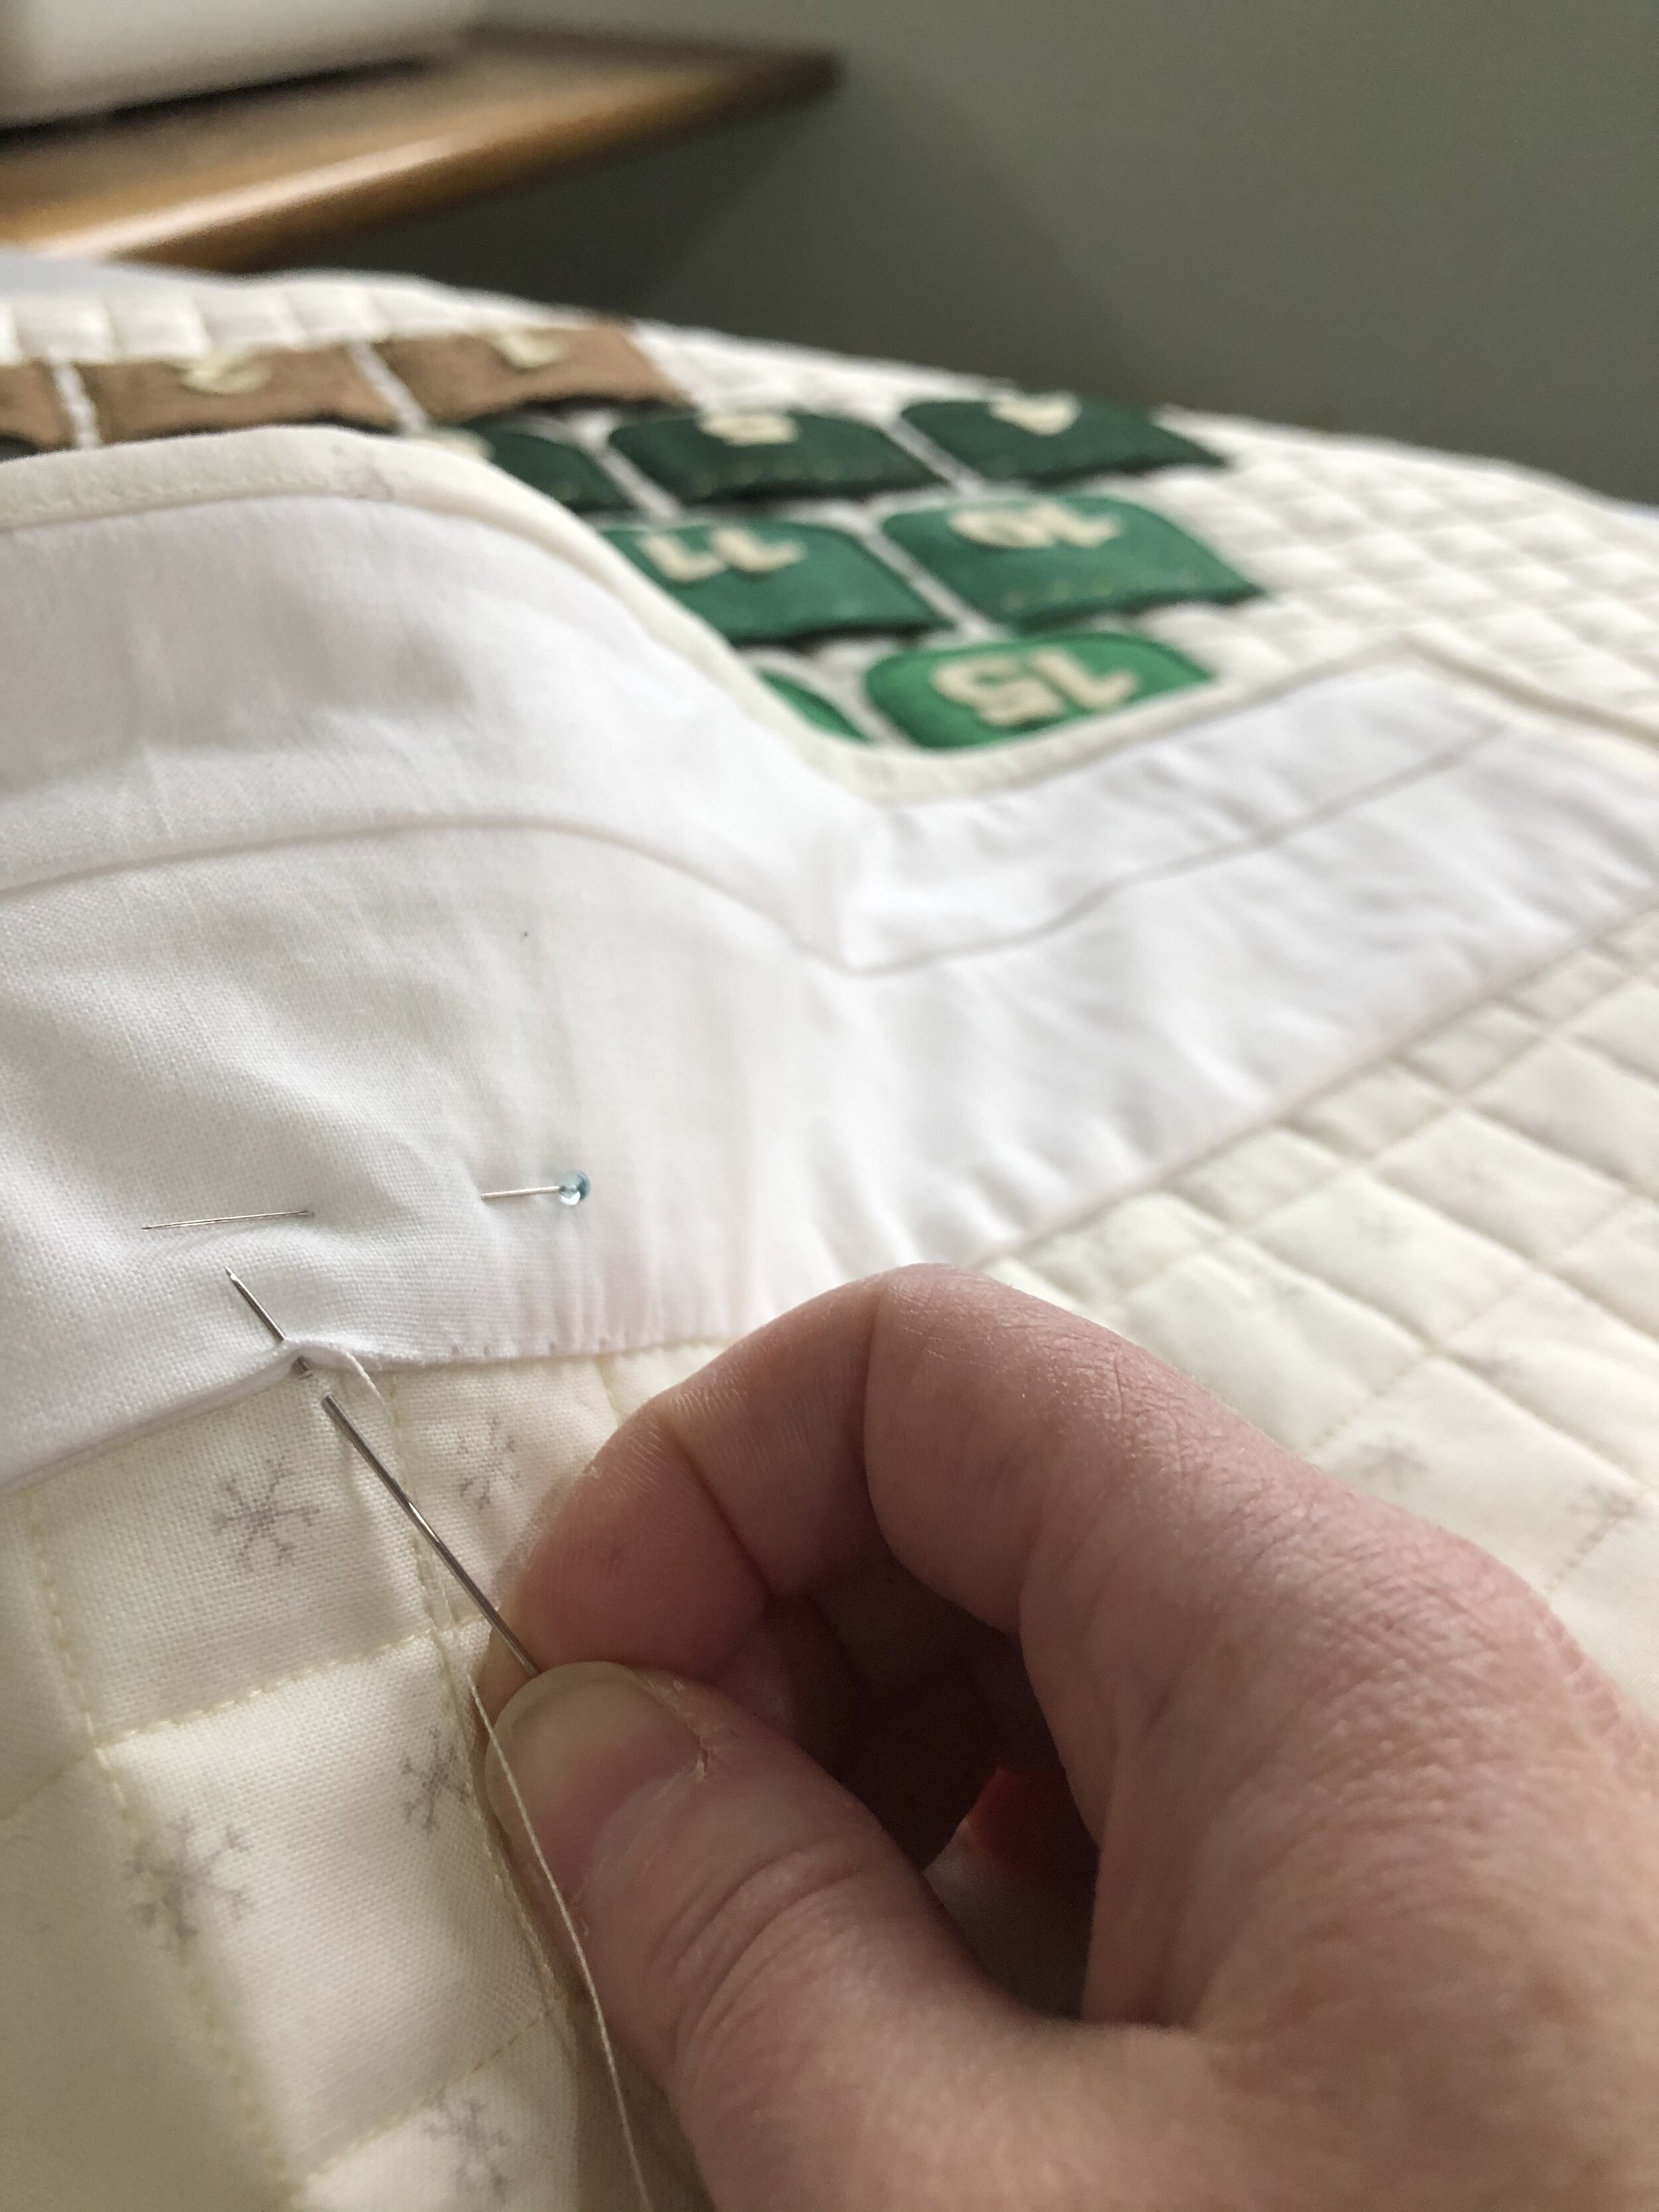
I Pinned. I Sewed. Note: I started and stopped each pocket stitch with a loop so the pockets will hold up better over time and not be so prone to ripping. Note Part Deux: I knew my stitches would show through the back of the quilt, so I used a thread in my bobbin that matched the backing fabric!
3) I Glued Pre-Made Advent Calendar Numbers On The Pockets
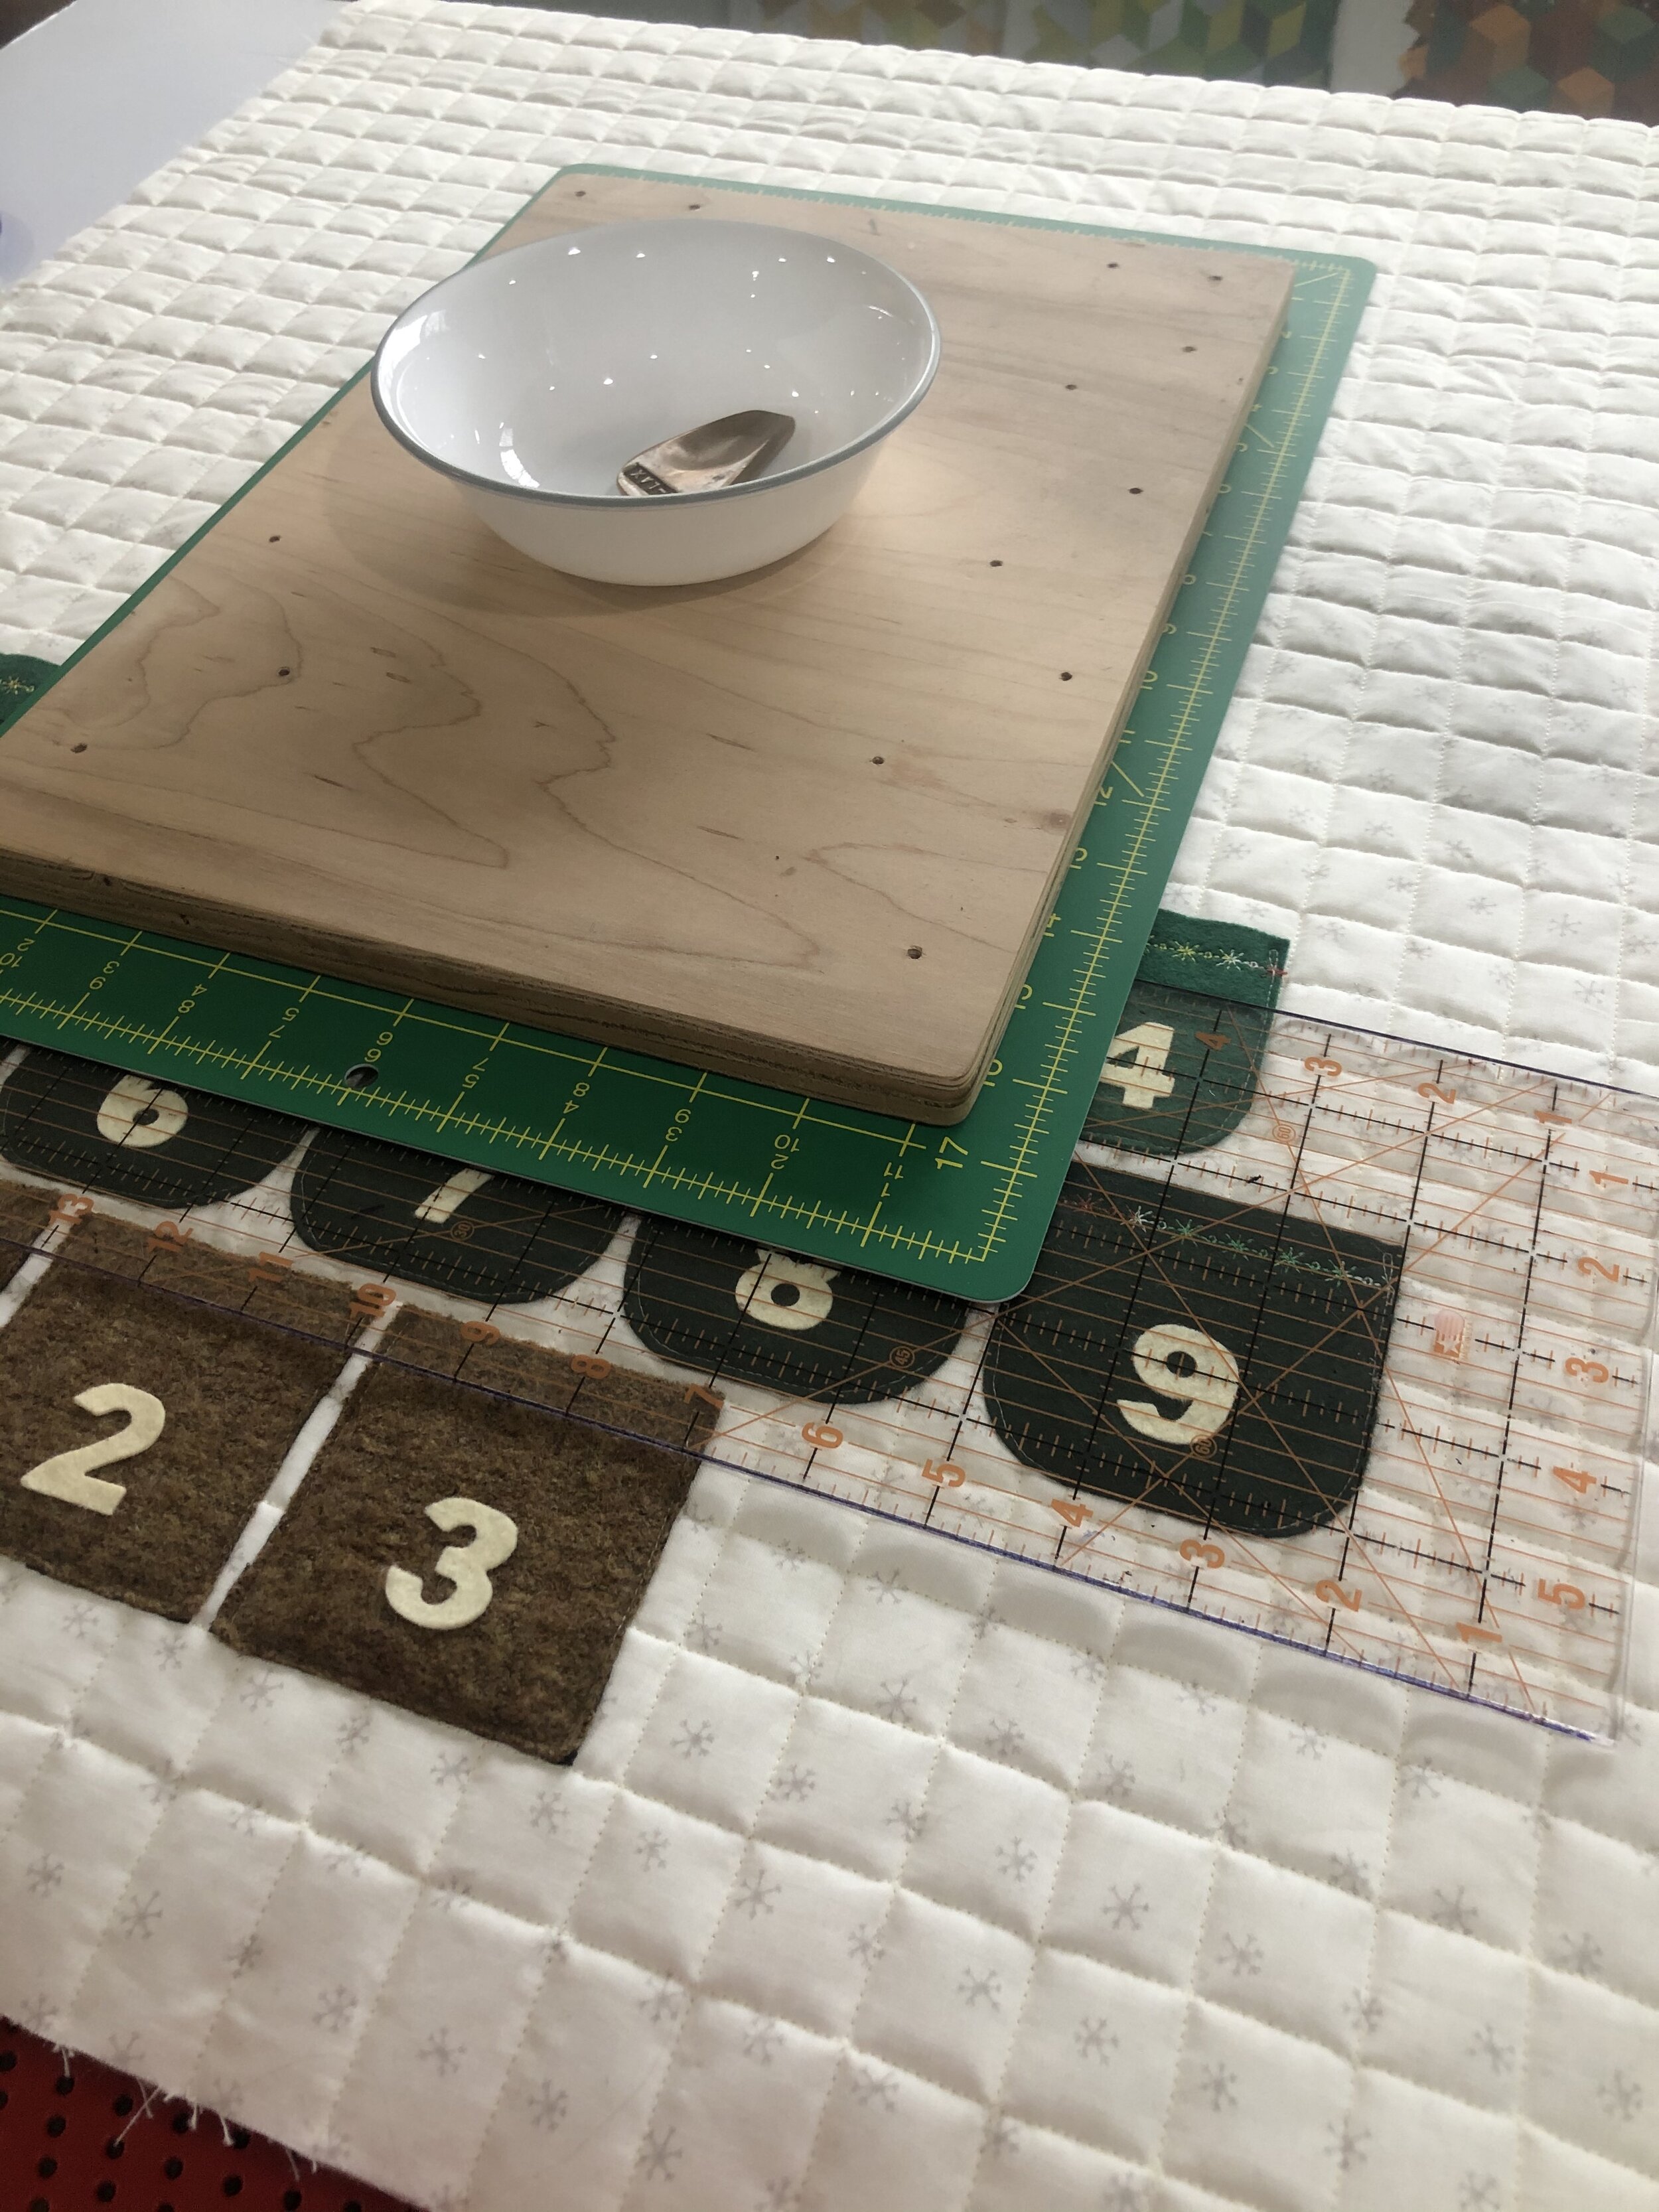
At this point I thought about cutting numbers out of felt using my Laser Cutter Dash, but I was honestly too scared to try it. I need more time, Xanax, and therapy before cutting fabric or felt on Dash. And also I want to test out my fire extinguisher. The owner forums are filled with people using their Glowforges for fabric and felt cutting to great success, but I’m gonna take my time on this. I don’t need to keep justifying myself so I’ll move on. I ordered my wool felt Advent Calendar numbers from a quick, high quality, and very lovely Etsy shop called The Lullaby Loft.
I glued these on with a very thin coat of Arleene’s Fabric Fusion, after lining them up carefully using my ruler. Then I used some random flat things to act as weights to press them while they dried.
4) I Designed My Own Advent Star 🌟
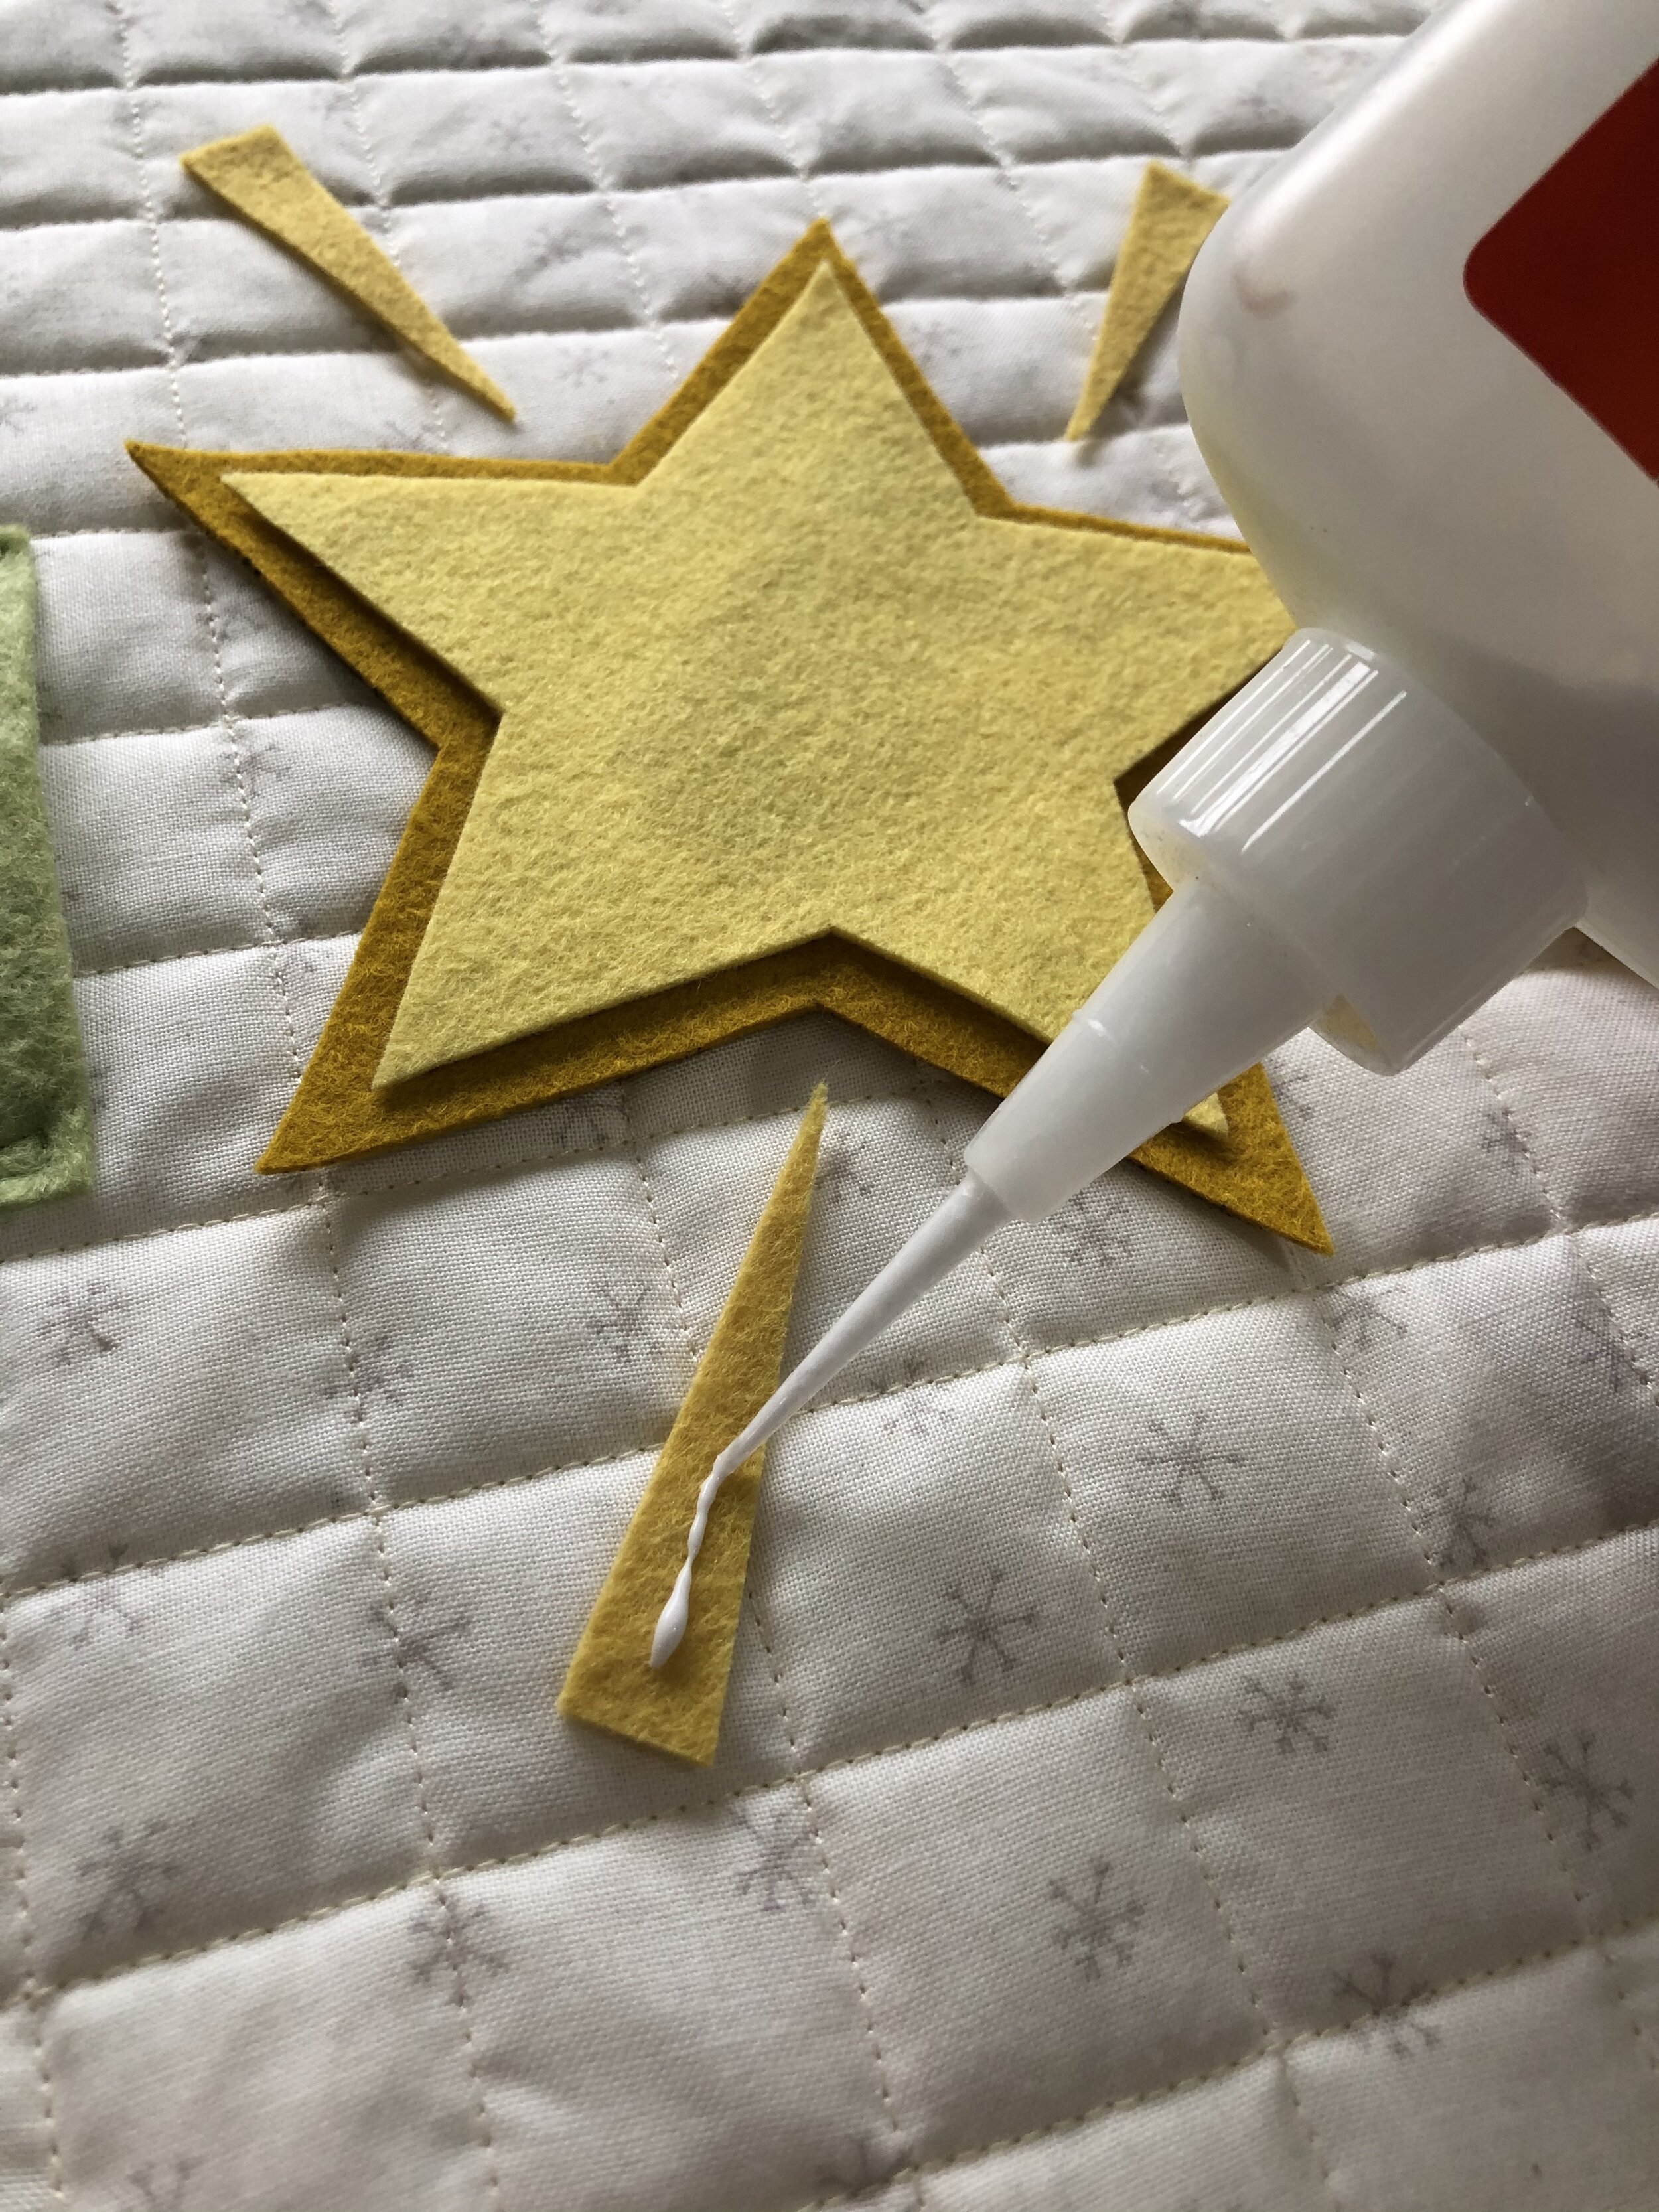
I drew a star in Illustrator and added some fun elements to make it look a bit like the iPhone emoji star. Then I printed the pattern pieces, traced them onto three shades of yellow Benzie Designs felt and cut them out. I glue basted with Elmer’s Glue and then dried the glue by pressing with a dry iron. Then I sewed everything in a variegated yellow-orange thread up top and in my bobbin was a thread that matched my backing fabric.
5) I Made A Hanging Sleeve
I took two jelly roll strips, sewed them together so my finished piece was about 44 inches long by 4.5 inches wide, then trimmed the selvedge edges, and cut it in half so I had two pieces that were about 22 by 4.5 inches. I sewed them together to get a 8 inch wide by 22 inch long piece and then folded in the short ends by about 1/4 inch and sewed along the fold. I then sewed it together lengthwise to create a tube, which I turned right side out, pressed, and attached to the top of my quilt along the raw edge by centering it and then basting. That basted edge was then hidden under the binding, but I had to whip stitch the bottom of the hanging sleeve to the backing fabric.
6) Binding Was The Last Step
By now I was wishing I had bound this quilt right after quilting it, and THEN added all the felt pieces. Other than that, it was all just your normal binding procedure.

Now to fill the pockets with treats!
I hope whatever you’re working on is meaningful and fulfilling!
Tara
PS, It’s up on the wall already and what I really need now is a calendar to count down when we start the Advent Calendar. Ah, kids!